Getting Started
The Beginner Woodworking Tool Kit Worth Buying First
Build your first woodworking tool kit without overspending. A practical guide to essential hand and power tools for beginners, in priority order.
Most beginners walk into a hardware store, see forty different tools, and walk out either overwhelmed or overloaded with things they won't touch for a year. The smarter move is to buy a small, capable set of beginner woodworking tools and add to it only as your projects demand it.
This guide covers what that starter kit actually looks like, what each tool does, and how to decide what to buy now versus later.
At a Glance
- Buy measuring and marking tools first: a tape measure, combination square, and marking knife run $50-80 and prevent almost every downstream mistake.
- Pick one cutting tool to start, a hand saw or a circular saw, based on your budget and the scale of your first projects; you don't need both.
- A cordless drill/driver, four bench chisels, and a No. 4 or No. 5 bench plane cover most beginner joinery.
- Budget $80-150 for a realistic starter clamp set; you'll want more within your first three projects.
- A complete functional kit runs $150-800 depending on whether you go hand-tool-focused or add power tools; a $200 kit used every weekend teaches more than an $800 kit that sits idle.
- Wear eye and hearing protection with any powered tool from day one; it's cheap insurance that costs nothing to build into the habit early.
Measuring and Marking: Get These First
No other category matters more to a beginner. A board cut wrong because of a bad measurement wastes wood, time, and confidence. These tools are cheap and irreplaceable.
Tape measure (25 ft). You'll reach for this more than anything else. Get one with a wide, stiff blade so it doesn't flop when you extend it across a board.
Combination square (12-inch). A combination square checks 90-degree and 45-degree angles, measures depth, and marks lines. A $20 model is often accurate enough for furniture; a $50 one will stay accurate longer. Either beats a plastic speed square for most bench work.
Marking knife or marking gauge. A pencil line is wide. A marking knife scores a crisp reference edge that guides your chisel or saw precisely. A wheel marking gauge is better for parallel lines along the grain. Ideally, own both, but the knife costs under $15 and handles most situations.
These three items together run $50 to $80 and belong in every woodworking kit, regardless of skill level. If your measurements are sloppy, nothing downstream fixes that. A cheap combination square that's out of true will feed a wrong angle into every joint you cut with it, so it's worth checking a new square against a known-flat reference edge before you trust it on a project.
Cutting Tools: Hand Saw or Circular Saw (Pick One to Start)
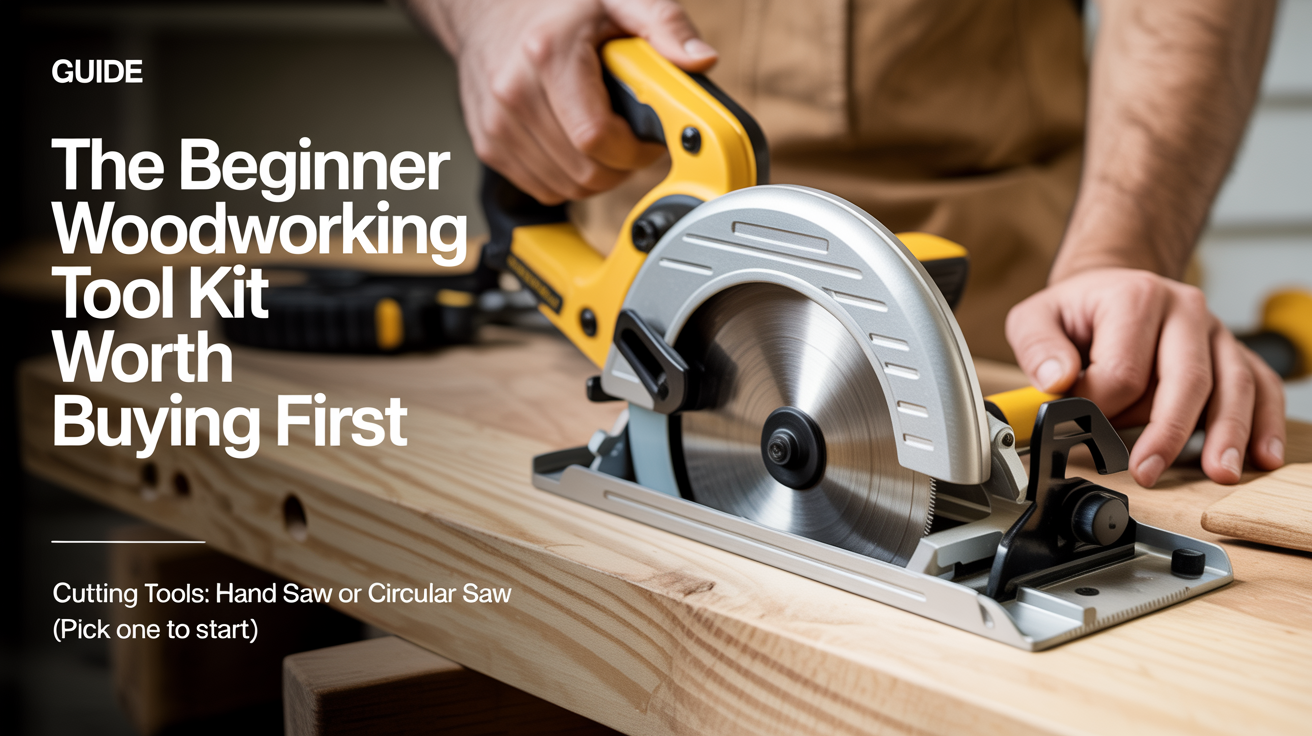
You need something to cut wood to length. For most beginners, the choice comes down to budget and space. If you're working in a small apartment or on a tight budget, a small garage workshop setup and a good hand saw can take you far before you need anything powered.
Crosscut hand saw (8-12 tpi). A sharp hand saw cuts surprisingly fast and teaches you to work with the grain. The downside is that cutting a full 8-foot board by hand is tiring. For smaller projects, a hand saw is completely adequate.
Circular saw. If you'll work with full-size sheet goods or dimensional lumber, a circular saw is a much better investment. Pair it with a straightedge or a rip-cut guide and it does most of what a table saw does, for a fraction of the cost and footprint. A 7.25-inch model with a 40-tooth blade handles almost every beginner task. Circular saws are also the single most common source of serious injury in a beginner shop, so it's worth building good habits from the first cut: both hands on the tool when the guard allows it, the blade depth set no more than about a quarter inch below the material, and the cord (or battery) kept clear of your cutting path. State workplace safety codes covering portable power tools spell out guarding and operating requirements for exactly this class of tool, and the same logic applies at a home bench even though the rule itself targets job sites.
You don't need both to start. Pick the one that matches your first few projects.
Cordless drill/driver. Buy this no matter what. It drives screws, drills pilot holes, and runs hole saws. A 12V model is lighter and fine for furniture work; an 18V model has more torque for larger hardware. Get the kit that includes two batteries.
Joinery: Chisels and a Plane
These are the tools that separate rough cuts from finished joints. You don't need a full set on day one, but the basics open up a much wider range of projects.
Bench chisels, set of four (1/4, 1/2, 3/4, 1 inch). Four chisels cover nearly every joinery task a beginner encounters: chopping mortises, cleaning hinge recesses, paring joints. Budget sets under $40 are adequate if you sharpen them before use. Most beginner chisels ship dull. The sharpening is the work.
No. 4 or No. 5 bench plane. A hand plane flattens faces, removes mill marks, and trims joints to fit. A No. 4 is lighter and better for smoothing; a No. 5 is longer and better for flattening. Either works for a beginner. You can find decent vintage planes at estate sales for $20 to $50, or buy a new one in the $50 to $150 range. Again, tuning and sharpening come first.
Understanding how wood is dimensioned and graded matters here too. Head over to understanding lumber dimensions and grades before your first big lumber purchase so you're not guessing what "S4S" means at the yard.
Assembly: Clamps
Clamps are the third hand every woodworker needs. Many beginners underestimate how many they'll want once they start gluing up panels or assembling a box.
A realistic starter set:
- 4 pipe clamps or parallel-jaw clamps for face glue-ups and panel work
- 4 to 6 F-clamps (6-inch and 12-inch) for general clamping
- 2 to 4 quick-grip clamps for holding work while you mark or drill
Budget $80 to $150 for this set. You'll wish you had more clamps within your first three projects. That's normal. Add them as projects require. A glue-up rule of thumb that saves a lot of frustration: dry-fit the joint with all your clamps in place before you ever open the glue bottle. If you don't have enough clamps to hold the dry-fit together, you definitely don't have enough for the glued version, and glue starts setting the moment it hits the wood.
Finishing: One Tool Does Most of the Work
You can hand-sand everything. It takes longer and your results will be less consistent on large flat surfaces.
Random orbital sander. A 5-inch random orbital sander with a dust bag removes mill marks, smooths glue joints, and preps wood for finish faster than any hand sanding block. Start with 80-grit, work to 120, then 180 or 220 depending on your finish. Grit numbers follow the standard maintained by the Unified Abrasives Manufacturers' Association, so an 80-grit disc cuts at roughly the same rate across sandpaper brands, which makes it easy to shop by price once you know the grits you need. A decent sander runs $40 to $80 and will last years.
For hand sanding in tight spots and corners, a cork sanding block with adhesive paper is all you need.
Tool Priority Table
| Tool | What It Does | Buy Now or Later? |
|---|---|---|
| Tape measure | Length measurements | Buy now |
| Combination square | Angles, layout, marking | Buy now |
| Marking knife | Crisp cut lines | Buy now |
| Crosscut hand saw or circular saw | Crosscutting to length | Buy now (pick one) |
| Cordless drill/driver | Drilling, driving screws | Buy now |
| Bench chisels (set of 4) | Joinery, paring, cleaning | Buy now |
| No. 4 or No. 5 bench plane | Smoothing, flattening | Buy now or within first 2 projects |
| Clamps (6-10 total) | Assembly, glue-ups | Buy now, add more over time |
| Random orbital sander | Surface prep, finishing | Buy now |
| Marking gauge | Parallel layout lines | Buy within first 3 projects |
| Mallet | Chisel work, joinery | Buy within first 3 projects |
Basic Safety Gear to Buy Alongside Your Tools
It's easy to spend the whole budget on tools and treat safety gear as an afterthought, but protective equipment belongs in the same first shopping trip, not a later one.
| Gear | Protects Against | When You Need It |
|---|---|---|
| Safety glasses or goggles | Flying chips and dust from any powered tool | Every time a saw, drill, router, or sander is running |
| Hearing protection (earmuffs or plugs) | Cumulative hearing damage from sustained tool noise | Circular saw, router, shop vac use over extended periods |
| N95 dust mask or respirator | Fine airborne wood dust from sanding and cutting | Sanding sessions, cutting MDF or manufactured board |
| Push stick or push block | Hands too close to a blade on stationary tools | Any future table saw or router table work |
| Basic first aid kit | Minor cuts and splinters | Kept in the shop at all times |
None of this needs to be expensive. Safety glasses and earmuffs together typically cost less than a single chisel, and building the habit of putting them on before the tool turns on matters more than the specific brand.
Skip These for Now
The tool market is full of specialized equipment that looks useful but sits unused in most beginner shops. Hold off on:
- Table saw (useful later, but a circular saw handles most of what beginners need and costs far less)
- Router and router table (add after you've built a few projects with hand tools)
- Jigsaw (occasional use; easy to rent or borrow)
- Pocket hole jig (fast joinery, but learn the basics first so you understand the tradeoffs)
- Dovetail saw and guides (a worthwhile goal, not a first purchase)
- Biscuit joiner (redundant with clamps for most beginner work)
- Thickness planer (add it when you start buying rough lumber regularly)
When you're ready to think about where all this lives, the beginner's guide to getting started in woodworking walks through shop setup and the first projects worth tackling.
What Does a Starter Kit Actually Cost?
A complete, functional beginner kit runs roughly:
| Tier | Contents | Approximate Cost |
|---|---|---|
| Hand-tool focused | Saw, chisels, plane, measuring tools, clamps | $150 to $250 |
| Mixed kit | Hand tools plus a circular saw and cordless drill | $300 to $500 |
| Full starter set | Quality versions of everything above, including a random orbital sander | $500 to $800 |
You don't need to spend $800 on day one. A $200 kit that you actually use every weekend will teach you more than a full shop that sits idle. Most beginners find that the mixed tier, adding a circular saw and drill to the hand-tool basics, is the point where the kit stops feeling limiting without yet feeling like an unjustified expense.
Frequently Asked Questions
How many clamps does a beginner actually need?
More than you think going in. Start with six to eight clamps of mixed sizes and expect to add more as your projects grow. Face glue-ups for a cutting board alone can eat six clamps. Budget for clamps like you budget for sandpaper: you'll always need more than you planned.
Do I need both a hand saw and a circular saw?
Not to start. A circular saw handles more material and larger cuts; a hand saw is quieter, portable, and teaches technique. Pick based on your first projects. If you're making small boxes or frames, start with the hand saw. If your first project is a workbench or a bookcase from plywood, get the circular saw.
Are expensive chisels worth it for a beginner?
Not necessarily. A budget set of four chisels, sharpened properly, will do everything a beginner needs. The difference between a $30 set and a $150 set is steel quality and edge retention over time. Start cheap, learn to sharpen, and upgrade later if you find you're using them constantly.
Should I buy used tools?
Hand tools, yes. Old bench planes and chisels are often better steel than new budget tools, and they cost less at estate sales or flea markets. Power tools are more of a risk since you can't easily inspect the motor condition. Buy used hand tools; buy new or refurbished power tools from a known source.
What's the single most important tool for a beginner to buy first?
A tape measure and combination square, treated as a pair. Accurate layout prevents almost every downstream mistake. A beginner with good measuring tools and a $15 saw will build better work than someone with a $500 saw and sloppy layout habits.
Do I need a dedicated workbench before I buy tools, or the other way around?
Buy the measuring, marking, and cutting tools first; a stable work surface can wait a little longer, because you can start with sawhorses and a sheet of plywood for your first project or two. That said, don't push it far past the second project. Chisel and hand plane work in particular need a rigid, secured surface to be safe and accurate, so a proper bench should be one of your next purchases once the hand tool basics are in place.
Is a cheap starter kit actually a false economy?
Sometimes, but not always. For measuring tools, chisels, and clamps, budget versions perform nearly as well as premium ones once you learn to sharpen and tune them, so starting cheap is a reasonable way to learn. Power tools are the exception: an underpowered budget drill or a circular saw with a poor safety guard is more likely to bind, kick back, or simply frustrate you into abandoning a project. Spend a bit more on the tools with a motor and save on the tools that are just steel and a handle.