Projects & Plans
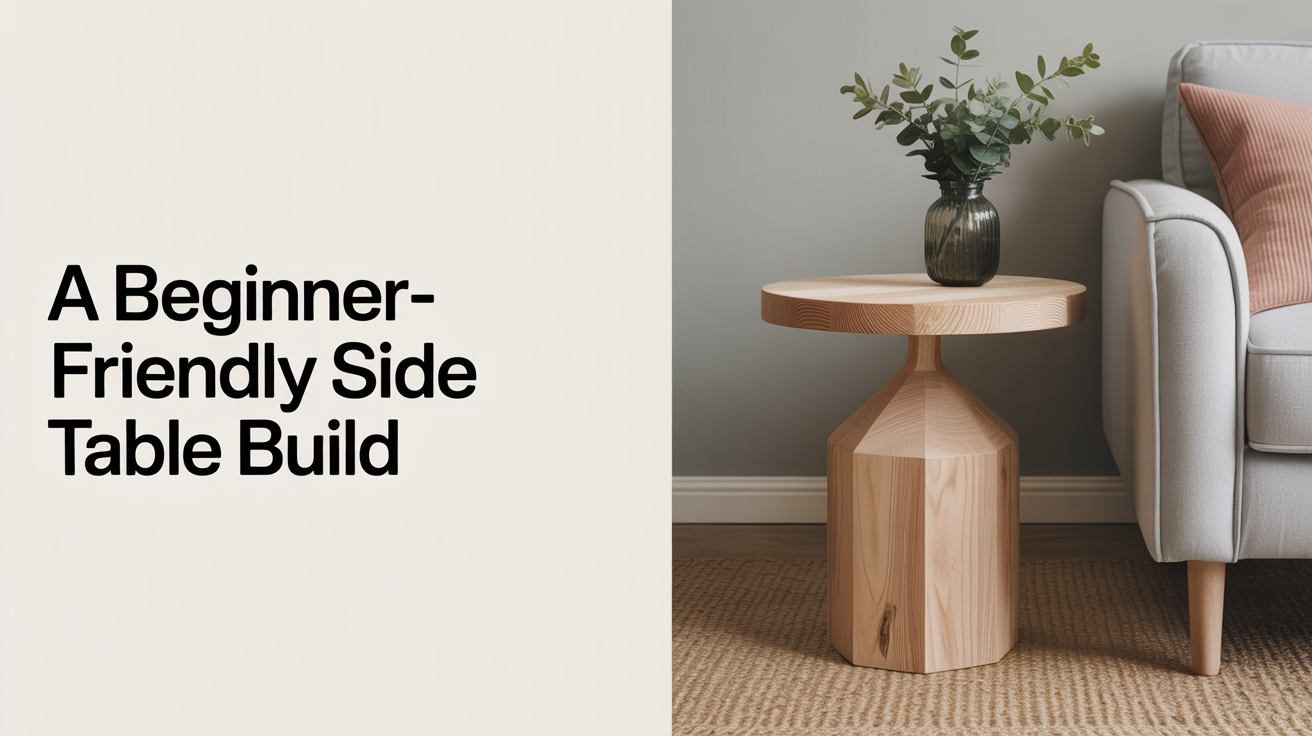
A Beginner-Friendly Side Table Build
Learn how to build a side table from common lumber with basic tools. Includes a full cut list, step-by-step instructions, and tips for a clean first furnitur...
Building a side table is one of the best first furniture projects a beginner can tackle. The joinery is simple, the material list is short, and you end up with something useful and solid at the end.
This guide walks through a straightforward Shaker-style side table: four tapered legs, a lower shelf, and a flat top. No mortise-and-tenon joints, no biscuit joiner required. Just pocket screws, glue, and a bit of patience.
What You Need Before You Start
Tools
You do not need a fully equipped shop for this project. A basic set covers it:
- Miter saw or circular saw with a straightedge guide
- Drill and driver
- Pocket hole jig (Kreg R3 or similar)
- Sander or sanding block (80, 120, and 220 grit)
- Tape measure and marking square
- Clamps (at least four)
If you do not own a pocket hole jig yet, this project is a good reason to pick one up. They cost around $20-$30 for an entry-level kit and make repeatable hidden joints accessible to anyone.
Materials
This table uses 1x4 common pine and 3/4-inch plywood or an edge-glued panel for the top and shelf. Pine is inexpensive, machines cleanly, and takes stain well after proper prep. A 1x4x8 piece runs about $5-$8 at most home centers.
The finished dimensions are roughly 26 inches tall, 16 inches wide, and 16 inches deep. You can scale it up or down by adjusting the apron length and leg height.
Cut List
Print this out before you head to the lumber yard. All pieces come from 1x4 common pine except the top and shelf, which use 3/4-inch panel stock.
| Part | Qty | Thickness | Width | Length | Notes |
|---|---|---|---|---|---|
| Legs | 4 | 1.5" x 1.5" | -- | 24.5" | Glue two 1x4s face-to-face, rip to 1.5" square |
| Side aprons | 2 | 3/4" | 3.5" | 11.5" | Short aprons (side-to-side) |
| Front/back aprons | 2 | 3/4" | 3.5" | 11.5" | Same length for a square table |
| Lower shelf | 1 | 3/4" | 13" | 13" | Plywood or glued panel |
| Shelf cleats | 4 | 3/4" | 1.5" | 3" | Glued and screwed inside aprons |
| Top | 1 | 3/4" | 16" | 16" | Plywood, glued panel, or edge-joined boards |
A note on legs: The simplest approach is to glue two 1x4 boards face-to-face to form a 1.5-inch-square blank, then rip them square on a table saw. If you do not have a table saw, 1.5-inch square turning blanks are sold at many woodworking stores, or you can buy pre-made tapered legs for around $4-$6 each.
Building the Base
Step 1: Prep the Legs
If you are gluing up your own leg blanks, spread an even coat of wood glue on the face of one board, clamp both pieces together, and let them dry overnight. Once dry, joint or plane one face and one edge square, then rip to 1.5 inches square.
A slight taper on the inside two faces of each leg looks better than a fully square post and adds a sense of lightness without any extra joinery. Mark a taper from 1.5 inches at the top to 7/8 inch at the bottom, starting about 5 inches below where the apron will land. Cut it on a band saw or with a taper jig on a table saw. Sand the sawn face smooth.
This step is optional. Square legs work fine and are faster to prepare.
Step 2: Drill Pocket Holes in the Aprons
Set your pocket hole jig for 3/4-inch stock. Drill two pocket holes on each end of all four aprons, angling into the faces that will press against the legs. Sand all apron faces to 120 grit before assembly; it is much harder to sand inside the corners once everything is glued up.
Step 3: Assemble the Short Sides First
Lay two legs flat on your bench with the tapered faces facing in. Clamp one side apron between them and drive 1.25-inch pocket screws to pull the joint tight. Add glue to the apron ends before clamping if you want the joint to be permanent. Let glue joints tack for at least 30 minutes before moving.
Repeat for the second side. You now have two ladder-shaped side assemblies.
Step 4: Connect the Two Sides
Stand both side assemblies upright and clamp the front and back aprons between them. Check for square by measuring corner to corner in both directions. The two diagonal measurements should match within 1/8 inch. Adjust the clamps until they do, then drive the pocket screws.
A square base makes the top easier to fit and the table less prone to rocking.
Adding the Lower Shelf
Cut four small shelf cleats from scrap 1x material. Glue and clamp them to the inside faces of the aprons, about 10 inches from the floor. Predrill and screw from outside the apron into the cleat for extra holding power.
Once the cleats are dry, drop the shelf panel in from the top. It should sit flush on all four cleats. You can glue and nail it down or leave it removable for finishing. A removable shelf is easier to sand and stain separately.
This type of floating lower shelf is a good structural habit to pick up. You will see it on a lot of classic furniture, including the simple workbench covered in How to Build a Sturdy Workbench.
Attaching the Top
Cut the top panel to 16 by 16 inches and sand it through 220 grit before attaching. A flat, clean top surface is much easier to achieve before the top is on the table than after.
Attach the top from underneath using figure-8 fasteners or small L-brackets. These allow the top to expand and contract with humidity changes without splitting. Place one fastener near the center of each apron, routed into a shallow mortise so it sits flush.
If you are using solid wood for the top (edge-joined boards), figure-8 fasteners are especially useful. A plywood top is more stable and you can screw directly up through the aprons with no risk of splitting.
Finishing the Table
Sand the entire base to 150 grit, then 220. Pay attention to the corners where the aprons meet the legs; a folded piece of sandpaper works well there.
For pine, a pre-stain wood conditioner helps the stain absorb evenly. Without it, end grain and softer patches drink up stain faster than surrounding areas, which causes blotchy results. Apply the conditioner, let it dry for 15 minutes, then wipe on your stain.
Two coats of water-based polyurethane give a durable surface for a side table. Lightly sand with 320 grit between coats and wipe off the dust with a tack cloth before the second coat.
The Make a Bookshelf from a Single Board guide covers a similar finishing sequence with more detail on brushing technique if you want to go deeper on that step.
Frequently Asked Questions
How long does this project take for a beginner?
Most beginners finish the build in a single weekend. The first day covers milling and cutting all the parts. The second day covers assembly and initial sanding. Finishing adds another day or two because you need to wait for each coat to dry before sanding and recoating.
Can I build this without a pocket hole jig?
Yes. You can substitute dowels and glue, or fasten the aprons to the legs using screws driven through predrilled holes from outside (countersunk and plugged with a wooden plug). Pocket holes are just the fastest and most forgiving method for beginners.
What wood should I use for a first furniture project?
Common pine is the best starting point. It is inexpensive, widely available, and easy to cut and sand. Poplar is another solid choice if you plan to paint the table; it takes paint more cleanly than pine. Avoid hardwoods like oak or maple for a first build unless you have a jointer and planer to flatten rough stock.
How do I keep the table from wobbling on an uneven floor?
Glue a small felt pad to the bottom of each leg. If the floor is significantly uneven, use adjustable furniture levelers threaded into the bottom of each leg. Alternatively, mark the high three legs while the table sits flat, then trim a thin shim from the low leg until all four contact the floor evenly.
Is this project a good follow-up to a first box build?
It is. Once you are comfortable cutting parts square and assembling with glue and screws, the side table is a natural next step because it adds legs and a shelf to the skills you practiced. If you want to review the foundational skills first, Build a Simple Wooden Box: A First Project covers them in detail.