Projects & Plans
Make a Bookshelf From a Single Board
Learn how to build a bookshelf from a single 1x10 or 1x12 board. Step-by-step plans for a sturdy 3-shelf unit using dado or pocket-screw joinery.
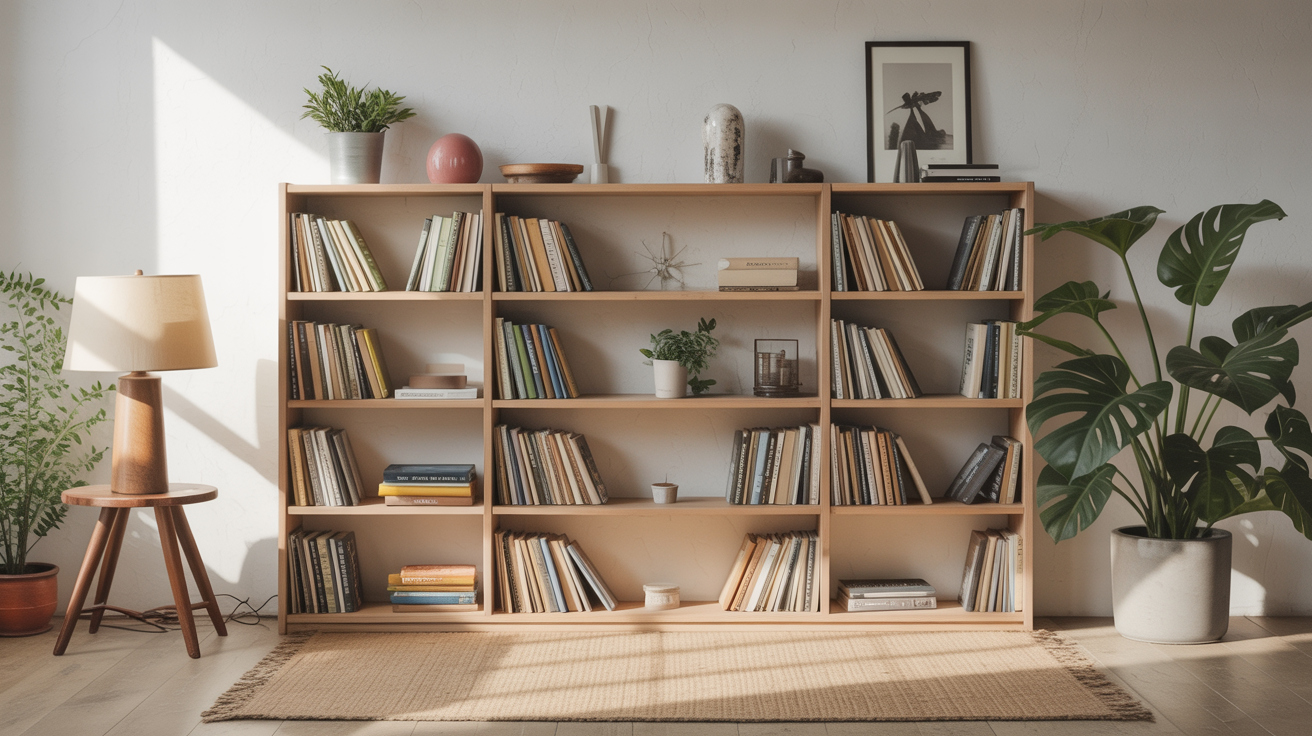
A single 8-foot 1x10 or 1x12 is enough wood to build a small, solid bookshelf. The project teaches real joinery skills, rewards careful measuring, and produces something genuinely useful on a Saturday afternoon.
Most beginners assume a bookshelf needs a stack of different boards. It doesn't. The constraint of one board forces you to think about grain direction, offcuts, and cutting efficiency before you ever pick up a saw.
Tools and Materials
Wood
- One 1x10x8 (nominal) pine or poplar board, surfaced on two sides (S2S). Clear or #2 grade. At the lumber yard, sight down the length and reject anything cupped more than 1/8 inch across the face.
Tools
- Circular saw or miter saw (crosscuts) plus a straight-edge guide or table saw (ripping if needed)
- Router with a 3/4-inch straight bit, or a table saw with dado stack (for dadoes)
- Pocket-hole jig (Kreg R3 or similar) if you skip dadoes
- Drill and driver
- Clamps (four 24-inch bar clamps minimum)
- Combination square, tape measure, marking knife or sharp pencil
- Random-orbit sander, 80 and 120 grit
Hardware and Finishing
- 1-1/4-inch pocket screws, or 3/4-inch fluted dowels plus wood glue
- 1-1/4-inch finish nails and glue (if adding a back panel)
- 1/4-inch plywood, cut to fit, for an optional back panel
- Wipe-on polyurethane or danish oil
Cut List
This unit stands about 36 inches tall, 9-1/4 inches deep (the actual width of a 1x10), and holds three shelves. All pieces come from one 8-foot board.
| Part | Qty | Length | Width | Notes |
|---|---|---|---|---|
| Side panel | 2 | 36" | 9-1/4" | Full actual width of board |
| Top / bottom | 2 | 24" | 9-1/4" | Full actual width |
| Middle shelf | 1 | 22-1/2" | 9-1/4" | Fits between dadoes in sides |
| Second shelf | 1 | 22-1/2" | 9-1/4" | Same |
Total linear footage needed: roughly 7 feet 8 inches. An 8-foot board yields about 4 inches of wiggle room for kerf and any snipe at the ends. Have the home center make the two 36-inch rips if your crosscut setup isn't rock-solid.
A note on shelf span and sag: 22-1/2 inches is a safe span for 3/4-inch pine under typical book loads. Stretch it past 28 inches and you will see noticeable deflection within a year. If you want a wider unit, upgrade to 1x12 stock or glue a 1-1/2-inch solid-wood nose strip to the front of each shelf.
Step 1: Mill and Mark
Let the board acclimate in your shop for 24 hours before cutting. Moisture differences between the lumber yard and your shop can twist a board enough to ruin a layout.
Cross-cut the two side panels first. They are the longest pieces, so cut them from the straightest section of the board. Mark the top face and the inside face on each one with chalk before you do anything else. You will reference these faces on every layout line.
Step 2: Lay Out the Dado Housing Joints
Dadoes are the cleanest joinery for a shelf unit. A dado is a channel routed or sawn across the grain; the shelf slides in and the joint resists racking without any metal hardware.
Mark the dado locations on both side panels simultaneously. Clamp them face-to-face with inside faces together, then scribe across both at once. This guarantees the shelves land at matching heights. For a 36-inch tall unit with 3-inch toe space, typical shelf spacing runs:
- Bottom dado: 3 inches up from the floor end (houses the bottom panel)
- First interior shelf: 12 inches above that
- Second interior shelf: 12 inches above that
- Top panel: dadoed in at the very top
Each dado should be exactly 3/8 inch deep (half the thickness of 3/4-inch stock) and 3/4 inch wide. Test your router bit on a scrap cut from the same board and sneak up on the final width so the shelf slides in with hand pressure only. A sloppy dado that needs to be forced closed with clamps will show a visible gap on the face.
Pocket-screw alternative: Skip the router entirely. Drill pocket holes on the ends of each shelf and the top and bottom panels. Screw into the sides from inside. This is faster and perfectly acceptable for a utility shelf, though the sides will show no housing line. Add glue at every joint regardless of method.
Dowel alternative: Drill 3/8-inch holes in the side panels and matching holes in the shelf ends. Two dowels per joint, glued. A doweling jig pays for itself on this project.
Step 3: Cut the Dadoes
Clamp a straight-edge fence to each side panel to guide your router. Rout from right to left (climb cuts aside, conventional routing goes against bit rotation). Make two or three passes, deepening by 1/8 inch each time rather than one full-depth plunge. Check depth with a marking gauge after each pass.
Chisel the corners square if you are using a plunge router with a spiral bit. A sharp 3/4-inch chisel does this in under two minutes per joint.
Step 4: Dry-Fit Before Any Glue
Slide all the shelves into their dadoes without glue. Check that the unit sits flat on a known-flat surface. Rack it slightly and measure diagonals: equal diagonals mean square. If one diagonal is longer, clamp across that longer diagonal to pull it into square.
If the shelves are binding at the front edge but not the back, the dado is slightly tapered. A few passes with a shoulder plane or a card scraper fixes it. Do not skip the dry-fit. Once glue is in the joints, you have about eight minutes to get everything square before it starts to set.
Step 5: Glue and Clamp
Apply a thin, even coat of PVA glue to both faces of each dado. Slide the shelves in. Place bar clamps across the width, one near the front edge and one near the back, at each joint. Tighten until glue squeezes out uniformly. Check square again after clamp-up, because racking can shift during clamping.
Let the glue cure four hours minimum before removing clamps. Overnight is better.
Step 6: Optional Back Panel
A 1/4-inch plywood back panel eliminates all racking and means you do not need to anchor the unit to the wall. Measure the opening diagonally to confirm square, then cut the plywood a hair undersize (1/16-inch gap on all sides). Nail and glue into a rabbet if you routed one, or face-nail into the back edges of the sides, top, and bottom with 1-1/4-inch finish nails every 8 inches. Sink the nails, fill, and sand flush.
Without the back panel, the bookshelf must be wall-mounted with a French cleat or L-bracket at the top to prevent tipping. Either approach works; the back panel adds weight and cost but makes the unit freestanding. See how to build a sturdy workbench for more on shop furniture that lives unsupported away from the wall.
Step 7: Sand and Finish
Start with 80 grit on the random-orbit sander to remove mill marks and any squeeze-out. Move to 120, then finish by hand with 180 along the grain. Pay attention to the inside faces of the sides before assembly; they are much harder to reach with a sander once the shelves are in.
Wipe-on polyurethane is forgiving for a first finish. Wipe on a thin coat, let it dry two hours, scuff lightly with 320-grit paper or gray Scotch-Brite, and apply a second coat. Three thin coats give better protection than one thick one, and thin coats do not run. Danish oil is even simpler: wipe on, wait 30 minutes, wipe off excess. It soaks into the wood rather than building a film surface.
If you are painting, prime first. Pine's resin pockets bleed through paint without a shellac-based primer.
For finishing skills applied to smaller practice pieces, the cutting board from scrap wood project is a good warmup before committing to a larger surface.
Frequently Asked Questions
How long does this project take from start to finish?
Plan on a full Saturday: an hour to cut and lay out, two hours to rout dadoes and dry-fit, an hour for glue-up and clamping, then waiting. Sand and finish on Sunday morning. Total active time is roughly 5 to 6 hours spread across two days.
Can I use dimensional lumber from a big-box store instead of a hardwood dealer?
Yes. Home center 1x10 pine is exactly what this project is designed for. Check each board for cup and twist before buying. Avoid boards with large loose knots near the dado locations; a knot in the housing zone can cause a chip-out when you rout. If the grain is cathedral-heavy, orient the board so the arch opens toward the front of the shelf.
My shelves feel a little loose in the dadoes. How do I fix a sloppy fit?
Glue will close a gap up to about 1/32 inch. For bigger gaps, cut a thin shim from the same board stock, glue it into the dado, let it dry, then re-rout to the exact width. A production approach: cut the dadoes 1/64 inch narrow and use a shoulder plane to sneak up on the final fit. Easier to open a tight dado than to close a sloppy one.
Do I need a router to build this, or can I use just a circular saw?
A dado stack on a table saw is actually faster than a router for this job. Without either, you can cut the shoulders of each dado with a handsaw and chisel out the waste. It takes longer but produces a perfectly serviceable joint. This is how joiners built furniture for centuries before electric tools. The simple wooden box project uses the same chisel work at a smaller scale and is good practice first.
How much weight can a shelf hold?
At a 22-1/2-inch span, a 3/4-inch pine shelf starts to deflect noticeably under loads above 50 pounds. Hardcover books average about 20 pounds per foot of shelf; paperbacks are roughly half that. For heavier loads, add a 1-inch-deep solid-wood nose rail glued to the front edge of each shelf, or reduce the span. Poplar and hard maple are stiffer than pine for the same thickness and make more sense if you are storing reference books rather than paperbacks.