Joinery
Cutting Half-Lap Joints Step by Step
Learn how to cut half-lap joints by hand or with power tools. A beginner guide covering layout, cutting methods, fitting, and gluing.
The half-lap joint is one of the most practical connections in lap joint woodworking: you remove half the thickness from each board so the faces sit flush, and you end up with a clean, flat joint that handles both frame corners and crossing members.
What Is a Half-Lap Joint?
A half-lap joint joins two pieces of wood by cutting an equal notch from each piece. When the two notches overlap, the faces are flush and the combined thickness equals one board.
There are three main types:
- End lap: connects two boards at their ends, forming a corner
- T-lap: connects the end of one board to the middle of another
- Cross lap joint: two boards cross at their midpoints (common in grid frames and trellises)
All three are cut the same way. The only difference is where on the board the notch sits. The cross lap joint is the one you'll see most in decorative frames, where pieces crisscross in a grid pattern.
Compared to a mortise and tenon joint, the half-lap is quicker to cut and requires less precision. It trades some mechanical strength for speed and simplicity, which makes it a good starting point for learning joinery.
Tools and Materials
You can cut half-laps with hand tools, a router, or a table saw. Choose the method that fits the tools you already own.
Table saw with dado stack The fastest option for clean, flat results. A dado set removes material in wide swaths. Without a dado set, a standard blade works too; you just make more passes.
Router table or handheld router A straight bit in a router table works well, especially for narrow boards. A handheld router with a fence guide is also reliable for one-off cuts.
Hand tools A tenon saw or crosscut saw, a sharp chisel (3/4-inch or 1-inch wide), and a mallet. Slower, but good for learning how chisels behave.
For any method, you'll also need:
- A marking gauge or combination square
- A pencil and a marking knife
- A scrap piece the same thickness as your workpiece for test cuts
- Clamps and wood glue
Laying Out the Joint
Layout determines the outcome. Sloppy lines produce a joint that won't close cleanly, regardless of how well you cut it.
Step 1: Set the Depth
Set a marking gauge to exactly half the board's thickness. If your board is 3/4 inch thick, you want a 3/8-inch depth. Run the gauge along the face and both edges of each workpiece to leave a clear, consistent line.
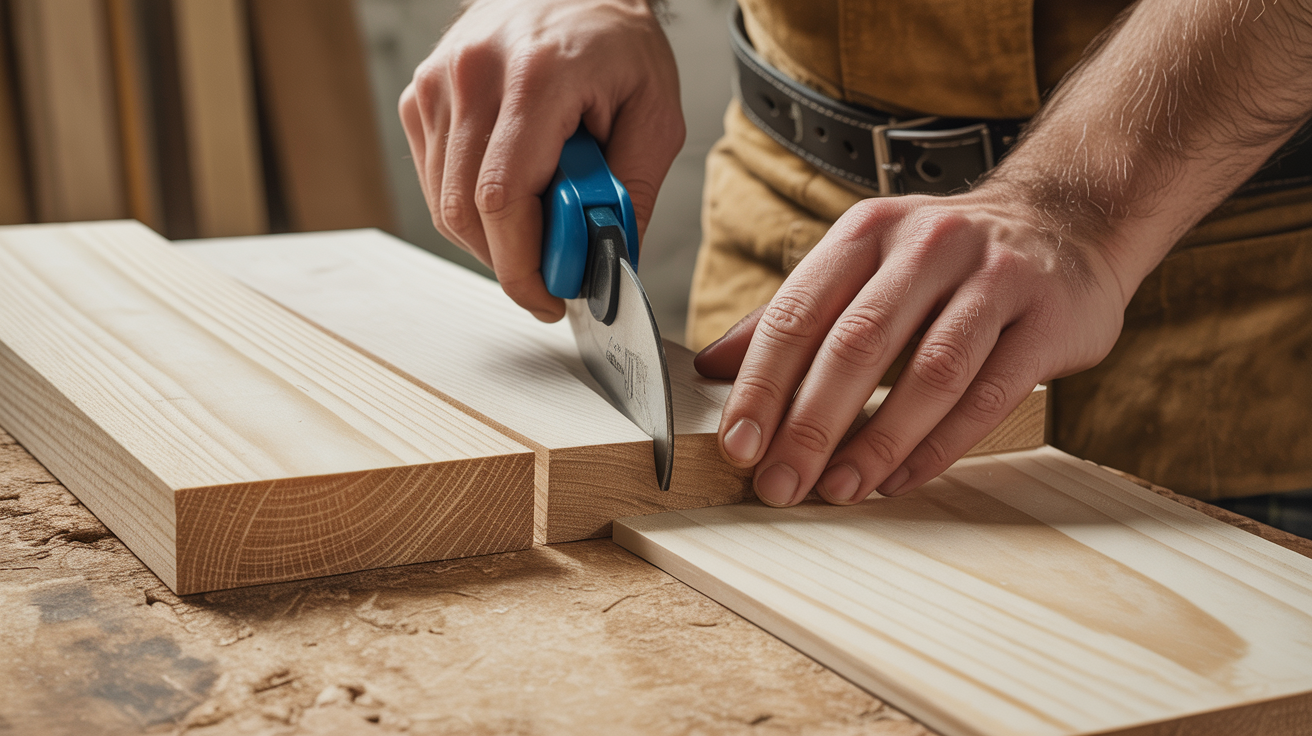
Step 2: Mark the Shoulders
The shoulder line marks where the notch begins. For an end lap, use the actual mating board as your template rather than a ruler. Hold it flat against the face of your workpiece and scribe both edges with a marking knife. This accounts for any variation in board width.
For a cross lap joint, find the center of each board first. Then hold each board across the other at the crossing point and scribe both sides.
Step 3: Mark the Waste
Shade the section you're removing with a pencil. This simple habit stops you from cutting on the wrong side of the line, which is the most common beginner mistake in how to cut a half lap.
Cutting the Joint
Method 1: Table Saw (Dado Stack or Standard Blade)
Set the blade height to your marked depth. Always test on scrap first. If using a dado set, run the board across the blade in overlapping passes to clear the waste. If using a standard blade, cut the shoulder line first (kerf on the waste side), then remove the remaining material with parallel passes, working from the shoulder toward the end.
Finish with a sharp chisel to knock down any ridges between saw kerfs. Hold the chisel bevel-down and pare in thin slices.
Method 2: Router Table
Set the bit height to your depth and clamp a fence. Take the cut in two or three passes rather than one full-depth plunge; this produces less tearout and puts less strain on the bit. Move the board from right to left (against bit rotation) for each pass.
Method 3: Hand Tools
Clamp the workpiece firmly in a vise. Cut the shoulder line first with a tenon saw, keeping the saw vertical. Stay on the waste side of the knife line.
Next, make a series of relief cuts across the waste area with the saw angled at roughly 45 degrees. These cuts break the waste into small sections that are easier to chisel out.
Chisel out the waste, working from both ends toward the middle. Keep the bevel facing down as you pare the floor flat. Check depth frequently with a small rule or the flat back of a chisel.
Fitting, Gluing, and Clamping
A correctly fitted half-lap takes moderate hand pressure to close. It should not drop together, and you should not need a mallet to seat it.
Checking the fit:
- Dry-fit both pieces and check that the faces are flush.
- Look for rocking. If one corner lifts, there's a high spot on the floor of the notch.
- Use a chisel, shoulder plane, or router plane to find and remove high spots. Take thin slices and check again.
Gluing up: Apply a thin, even coat of wood glue to both mating surfaces. Clamp across the joint with enough pressure to close any gaps and squeeze out a thin line of glue. Wipe excess glue immediately with a damp cloth; dried glue under finish is a visible problem.
For a cross lap joint, apply clamps from all four directions so no corner can lift. Let the glue cure for the full time listed on the bottle before unclamping.
Where Half-Lap Joints Work Best
Half-laps suit light-to-medium frames well: face frames, cabinet carcasses, decorative grids, small benches, and garden furniture. The joint relies on glue, so the strength depends on good surface contact and good clamping.
They are not the best choice for joints under heavy tension (where wood is being pulled apart), since the glue surface is smaller than a full mortise and tenon. For load-bearing leg-to-apron connections or drawer corner joints, other options carry more stress.
If you need a fast, strong frame joint and don't care about visible joinery, pocket-hole joinery is a reasonable alternative. If you want to practice visible lap joints and are ready for more complexity, dovetails cut by hand use similar chisel skills with tighter tolerances.
Frequently Asked Questions
Do I need a dado set to cut half-lap joints? No. A standard table saw blade works with multiple passes, a router with a straight bit works well, and hand tools require no power equipment at all. A dado set speeds things up and leaves a flatter floor, but it's not required to cut a clean joint.
How tight should the joint fit before gluing? Hand pressure to close, no mallet. If it's too loose, the glue layer is thin and can starve under clamping. If it won't close dry, it will be stressed during glue-up and may crack. Sneak up on depth in small increments and test frequently.
What's the difference between a half-lap and a cross lap joint? Half-lap is the name for the whole family. Cross lap joint refers specifically to two boards crossing at their midpoints, creating an X shape. End laps join boards at their ends; T-laps join the end of one board to the middle of another. All three use the same cutting process.
What do I do if I cut the notch too deep? If you've gone past the centerline, the faces won't be flush when the joint closes. The repair is to glue a thin shim of the same species into the floor of the notch, let it dry fully, then pare back to the correct depth. It's tedious, but it works. The better practice is to cut in small increments and check depth often.
Should I add a screw to a glued half-lap joint? For interior furniture and cabinets, glue alone holds well if the joint fits properly and is clamped evenly. For outdoor projects or anything subject to heavy seasonal movement, one screw from the back face of the joint adds a mechanical backup. Drill a clearance hole in the top piece so the screw actually draws the joint closed rather than just going through both boards at the same diameter.