Joinery
How to Cut Dovetail Joints by Hand
Learn how to cut dovetail joints by hand with this step-by-step guide covering layout, sawing, and chiseling for clean, gap-free results.
The through dovetail joint is the one most woodworkers want to cut the moment they pick up a hand tool. It's not the fastest joinery method, and for pure strength you'd be hard-pressed to beat a well-fitted mortise and tenon. But nothing else shows the hand of the maker quite like a row of crisp, interlocking tails fanned across a drawer front. Getting there requires patience with layout and a light touch at the chisel, not extraordinary skill.
What the Joint Actually Is
A through dovetail joins two boards at a corner so the joint is visible from both faces. The "tails" are the fan-shaped projections cut on one board; the "pins" are the narrower, parallel-sided projections on the mating board that the tails slide into. Once glued, the mechanical geometry locks the joint against pulling apart in one direction without any fasteners at all.
The ratio of taper matters. A 1:6 ratio (one unit of rise for every six units of run) is standard for softwoods like pine because the steeper angle compensates for softer, more compressible grain. For hardwoods such as cherry or walnut, a 1:8 ratio gives a more refined look and still holds plenty of strength. Most dovetail markers are sold in one or both of these angles.
| Wood Type | Recommended Ratio | Visual Character |
|---|---|---|
| Softwood (pine, cedar) | 1:6 | Pronounced, wider tails |
| Hardwood (oak, walnut, cherry) | 1:8 | Refined, subtle taper |
| Mixed or general-purpose | 1:7 | Middle ground |
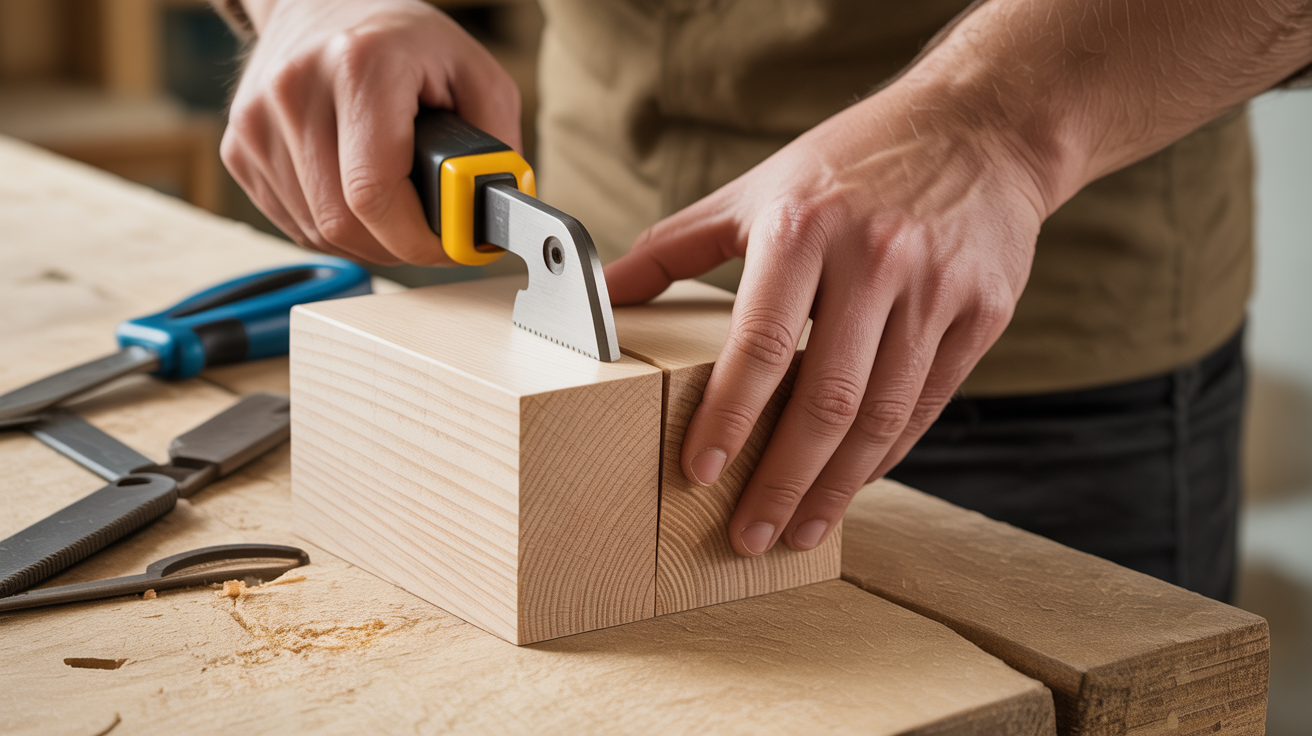
Tools You'll Need
You do not need a cabinet full of specialty tools. The following covers a clean, repeatable hand-cut dovetail workflow:
- Dovetail saw (fine crosscut teeth, usually 20 tpi) or a dedicated rip-filed dovetail saw
- Coping saw or fret saw for removing waste between tails
- Marking gauge (a cutting gauge with a wheel or knife is preferable to a pin-style scriber)
- Sliding bevel or dovetail marker set to your chosen ratio
- Sharp bench chisels, at least one narrow (1/4") and one medium (3/4" or 1")
- Mallet
- Pencil and marking knife
A sharp chisel is the single biggest variable. A dull edge will crush and tear fibers rather than slice them, and you cannot pare to a line you can't hold. Hone before you start.
Laying Out the Tails
Most experienced hand-tool woodworkers cut tails first, then use the tails to mark the pins directly. This approach eliminates measuring the pin board independently, which is where gaps usually come from.
Start by setting your marking gauge to the exact thickness of the pin board. Scribe a baseline all the way around both ends of the tail board. This baseline is your depth limit for sawing and chopping.
Spacing the Tails
There's no single correct number of tails. A common beginner approach for a 6"-wide board is three tails with two half-pins at each edge. Mark the spacing in pencil across the end grain, then use your sliding bevel or dovetail marker to draw the angled sides of each tail down to the baseline. Alternate the bevel direction for each line so the tails fan outward correctly.
Mark the waste areas with a small "X" in pencil before you saw. After a few dovetail joints, you'll have made the mistake of sawing on the wrong side of a line at least once.
Sawing the Tails
Clamp the tail board vertically in your vise so you can saw straight down. Position the saw on the waste side of each layout line. Keep the saw plate tilted to match the dovetail angle rather than plumb, since you're cutting an angled face, not a square shoulder.
Use light, controlled strokes. A dovetail saw starts cleanly if you draw it backward once or twice to establish a kerf before pushing. Saw down to the baseline but not through it. Undercutting the baseline by even 1 mm will leave a gap against the pin board; stopping just shy gives you material to pare away.
Once all the angled cuts are done, use a coping saw to remove the bulk of the waste between tails. Hold the coping saw blade just above the baseline and work it across. You are clearing space for the chisel, not finishing the joint.
Chopping and Paring to the Line
This is where a lot of beginners lose time and accuracy. The sequence matters:
- Place the tail board flat on the bench with a scrap underneath to protect the bench top.
- Set a sharp chisel on the baseline, bevel facing into the waste. Strike with a mallet to sever the fibers straight down, about halfway through the board.
- Come in from the end of the board at a slight downward angle to pop out a chip. Do not try to remove all the waste in one pass.
- Flip the board, repeat from the other face.
- On the final pass, pair to the baseline with hand pressure only, no mallet. The chisel should slide cleanly and stop at the scribed line.
A common failure here is undercutting the cheeks of the tails. If you angle the chisel sideways while paring, the joint will rock or show a gap at the face. Keep the chisel flat and move it straight back toward the line.
Transferring to the Pin Board
Once the tails are clean and squared, you'll use them to mark the pin board directly. This step is worth slowing down for.
Stand the pin board in the vise, end grain up. Hold the tail board flat against the end, aligned flush with the face that will show. Hold everything firmly or clamp it. Use a marking knife to scribe along each side of every tail. Press into the corner where the tail meets the end grain so the line registers exactly at the root.
Remove the tail board and use a square to extend those knife lines down to the baseline on the pin board faces. Mark waste areas with an X again, confirming the orientation before you saw.
Sawing the Pins
Pin cuts are plumb, not angled, but the kerf still needs to land in the waste. The pins are narrower than the tails, so the saw has less room to wander. Clamp the pin board vertically and saw carefully to each knife line, staying in the waste.
Remove the waste between pins with a coping saw, then chop and pare exactly as you did for the tails. The fit of the joint depends almost entirely on the precision of this step. If you see light through any gap when dry-fitting, identify which pin or tail is tight or proud and pare only that surface, a little at a time.
For a different approach to fast corner joinery where the mechanical interlock isn't the goal, pocket screws are worth understanding as a contrast. Dovetails shine precisely because the geometry does the structural work, no fasteners required.
Fitting and Gluing
Dry-fit the joint before reaching for glue. The tails should slide into the pins with light hand pressure. Resistance near the bottom of the stroke usually means one or two pin cheeks need a final light pare. Blowout on the end grain of the pin board happens when you drive the joint home with mallet force before it's properly fitted.
A well-fitted through dovetail needs very little glue surface, so apply a thin coat to the mating faces and assemble. Clamp lightly across the joint. If the joint closes fully by hand, you often don't need clamp pressure at all.
This joint pairs well as a complement to other corner methods. A strong butt joint can cover the same structural need with far less time, which makes choosing dovetails a deliberate craft decision rather than a default.
Frequently Asked Questions
How sharp do my chisels actually need to be?
Sharp enough to shave arm hair cleanly. A chisel that leaves torn fibers when you test it on scrap will not give you a clean baseline cut. Spend five minutes on the stones before the session and you will save thirty minutes of remedial paring later.
Should I cut tails first or pins first?
Cut tails first. Scribing the pins from the completed tails is more accurate than measuring both boards independently. Pins-first is a valid method with a different workflow logic, but tails-first is more forgiving for beginners and gives you a direct mechanical reference.
What causes gaps at the baseline?
Usually one of two things: the saw went below the baseline, removing material that should have been there, or the chiseling left a concave surface instead of a flat one. If the gap is at the face, the cheeks of the tails or pins may be slightly angled instead of square. Fix gaps by gluing in a thin sliver of matching wood after assembly, then plane flush once dry.
Can I use a router to help with any part of this?
Yes. Some woodworkers rout away most of the waste between tails and pins before finishing with chisels, which saves time on deep boards. The final paring to the baseline is still done by hand. A dovetail jig and router can cut the whole joint mechanically, but the result looks different from a hand-cut joint and is a separate skill set.
What's the best wood for a first dovetail practice joint?
Poplar or soft maple hits a useful middle ground: stable, takes a clean chisel cut, and shows you the joint clearly without the unpredictable grain of pine. Avoid oak for your first few attempts because the open grain hides the scribed lines and the material is harder to pare cleanly.