Wood Finishing
How to Apply Polyurethane Without Brush Marks
Learn how to apply polyurethane for a glass-smooth finish. Tips on brush choice, thinning, coat-by-coat method, and avoiding bubbles and streaks.
Polyurethane is one of the toughest, most durable finishes you can put on wood, and it is also one of the easiest to mess up. Brush marks, bubbles, and a cloudy surface are almost always caused by the same handful of mistakes, and every one of them is avoidable. Get the technique right and you will end up with a surface that looks like glass.
Oil-Based vs. Water-Based Poly: Which Should You Use?
Before you open a can, you need to know what you are working with. Oil-based and water-based polyurethane behave differently from start to finish.
| Property | Oil-Based | Water-Based |
|---|---|---|
| Color over time | Ambering (warm, yellowing) | Stays clear |
| Dry time per coat | 6-12 hours | 2-4 hours |
| Durability | Very high | High (improving with newer formulas) |
| Odor | Strong, solvent fumes | Low odor, mild |
| Cleanup | Mineral spirits | Soap and water |
Oil-based poly is still the gold standard for floors and heavy-use surfaces because of sheer durability. On lighter projects, like a bookshelf or side table, water-based works beautifully and dries faster so you can knock out three coats in a day. The amber tint from oil-based can be a plus on walnut or cherry, but it will shift a light maple toward orange over the years.
After you decide on a formulation, give the can a gentle stir rather than a shake. Shaking introduces tiny air bubbles that end up in your finish and look like fine pitting under a light. Stir slowly with a flat stick, scraping the bottom.
Set Up a Dust-Free Environment First
Dust is the enemy of a smooth finish. You can do everything else right and still end up with a gritty surface if you finish in a dusty shop. Sweep the floor and let the air settle for at least 30 minutes before you begin. Wipe the workpiece down with a tack cloth right before applying each coat.
Temperature matters too. Most polyurethanes apply best between 65 and 80 degrees Fahrenheit. Cold slows the cure and can cause the finish to blush or stay tacky.
Ventilation is non-negotiable with oil-based finishes. Open windows, run a fan to push air out, and wear a respirator rated for organic vapors. Oil-soaked rags are a serious fire hazard because they generate heat as they cure; spread them flat on a non-combustible surface outside to dry completely before disposal, or submerge them in water in a metal container. Do not ball them up and throw them in the trash.
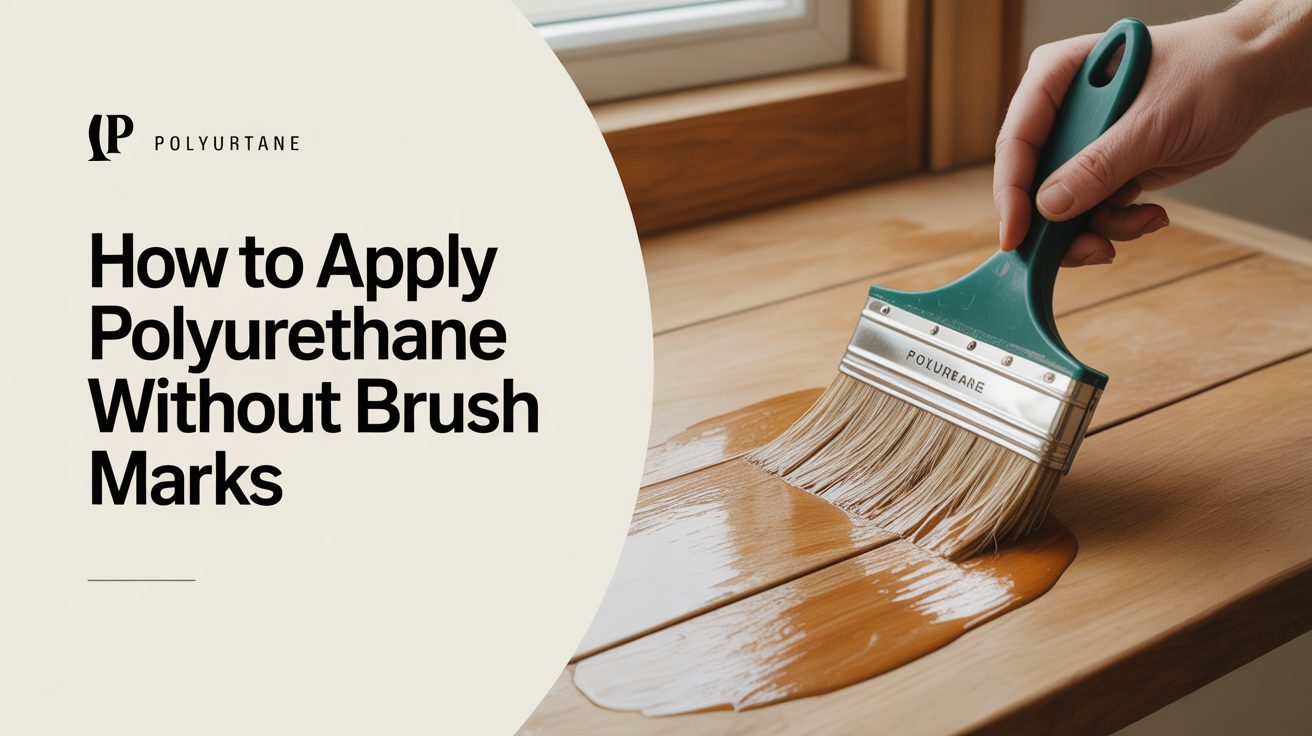
Choosing the Right Applicator
A cheap brush is a fast track to brush marks. Natural bristle brushes work well with oil-based poly; synthetic bristles are the right choice for water-based. A 2 to 2.5-inch brush gives you good control on most projects.
For beginners, a foam applicator or wipe-on poly is often a better starting point than a brush. Foam rollers leave a fine stipple that levels out as the finish flows, and foam brushes are forgiving on flat surfaces. Wipe-on poly is either a ready-made product or standard poly thinned with mineral spirits (oil-based) at roughly a 1:1 ratio. You wipe it on with a lint-free cloth in thin layers, and it almost cannot leave brush marks. The tradeoff is that wiped coats are thinner, so you need five or six coats instead of three.
Make sure your wood is properly prepared before any finish goes on. See our guide on how to sand wood properly before finishing if you need a refresher on grits and prep. If you stained the wood first, confirm the stain is fully cured before applying poly, since rushing this step causes adhesion problems. Our article on how to apply wood stain evenly covers that process.
The Coat-by-Coat Method
Thin coats are not optional advice, they are the technique. A thick coat traps solvent under the surface, sags on vertical surfaces, and dries slowly with streaks locked in. Three thin coats outperform one thick one in every measurable way.
- Prep the surface. Sand to 180 or 220 grit, remove all dust with a tack cloth, and make sure the room is settled.
- Apply the first coat. Load your brush lightly and flow the finish on with long strokes, following the grain. Do not scrub or overwork it. Move quickly but smoothly.
- Tip off. Just before the stroke dries, drag the very tip of the brush lightly along the surface in one direction to break any bubbles and unify the surface. Hold the brush nearly vertical and use almost no pressure.
- Let it dry fully. Check the can for manufacturer times. Rushing the next coat over a soft first coat creates lift and wrinkling.
- Sand lightly between coats. Once the first coat is dry, scuff the entire surface with 320-grit sandpaper. You are not trying to remove the finish, just knock down dust nibs and give the next coat something to bond to. Wipe clean with a tack cloth.
- Apply the second coat using the same method. If you notice any ridges from the first coat, they should sand out easily before this step.
- Sand again with 320 grit, then apply the third coat. This is your final coat, so be especially careful about dust. Do not sand after the final coat unless you are going for a rubbed-out matte look.
For most furniture projects, three coats is the standard. High-traffic surfaces like tabletops benefit from a fourth.
Why Brush Marks Happen (and How to Stop Them)
Brush marks almost always come down to one of a few causes. Overbrushing is the biggest one: going back over a section that has started to set drags the surface into ridges that do not level out. Apply each section once, tip off, and leave it.
Loaded bristles dump too much product at once and leave thick edges. Keep the brush about two-thirds full and work in manageable sections.
Finish that is too thick also stays put instead of flowing smooth. Thinning oil-based poly by 10-15% with mineral spirits for the first coat improves flow dramatically. Water-based poly generally should not be thinned.
If you are using a brush on curved surfaces or turnings, a wipe-on approach will serve you better. A cloth wrapped around a piece of scrap and loaded lightly with poly reaches into crevices without pooling.
If you want a different look entirely, penetrating oil finishes are worth considering alongside film finishes like poly. Our piece on oil finishes explained: tung, linseed, and danish oil covers how those compare.
Frequently Asked Questions
How many coats of polyurethane do I need?
Three coats is the standard for most furniture projects. The first coat seals the grain, the second builds the film, and the third gives you the final hard surface. Floors and tabletops with heavy daily use benefit from a fourth coat.
Can I use polyurethane over stain?
Yes, but the stain must be completely dry and cured first. Oil-based stain under water-based poly is a common combination, though you need to let the stain dry for a full 24 to 48 hours or longer in cold conditions. Test in an inconspicuous spot if you are unsure.
Why does my polyurethane look cloudy after drying?
Cloudiness or blushing is usually caused by applying finish in high humidity or cold temperatures, or by trapping moisture under the coat. It can also happen when water-based poly is applied over a surface that still has oil-based stain solvents off-gassing. Lightly sanding and applying another thin coat in better conditions often clears it up.
Is wipe-on poly as durable as brushed poly?
Each wiped coat is thinner, so you need more of them to build the same film thickness. With five or six coats of wipe-on poly, the final result is essentially as durable as three brushed coats of the same formula. The main advantage of wipe-on is that the application is forgiving and nearly foolproof for beginners.
Can I recoat polyurethane the next day?
Check the manufacturer's recoat window on the can. Most oil-based polys have a window where recoating is ideal (often 4 to 24 hours). If you wait too long outside that window, the cure has progressed to a point where a new coat may not bond well without sanding first with 220 or 320 grit to scratch the surface. Always read the label before skipping that step.