Wood Finishing
Oil Finishes Explained: Tung, Linseed, and Danish Oil
Learn how tung oil, boiled linseed oil, and Danish oil compare for woodworking projects, including application steps and drying times.
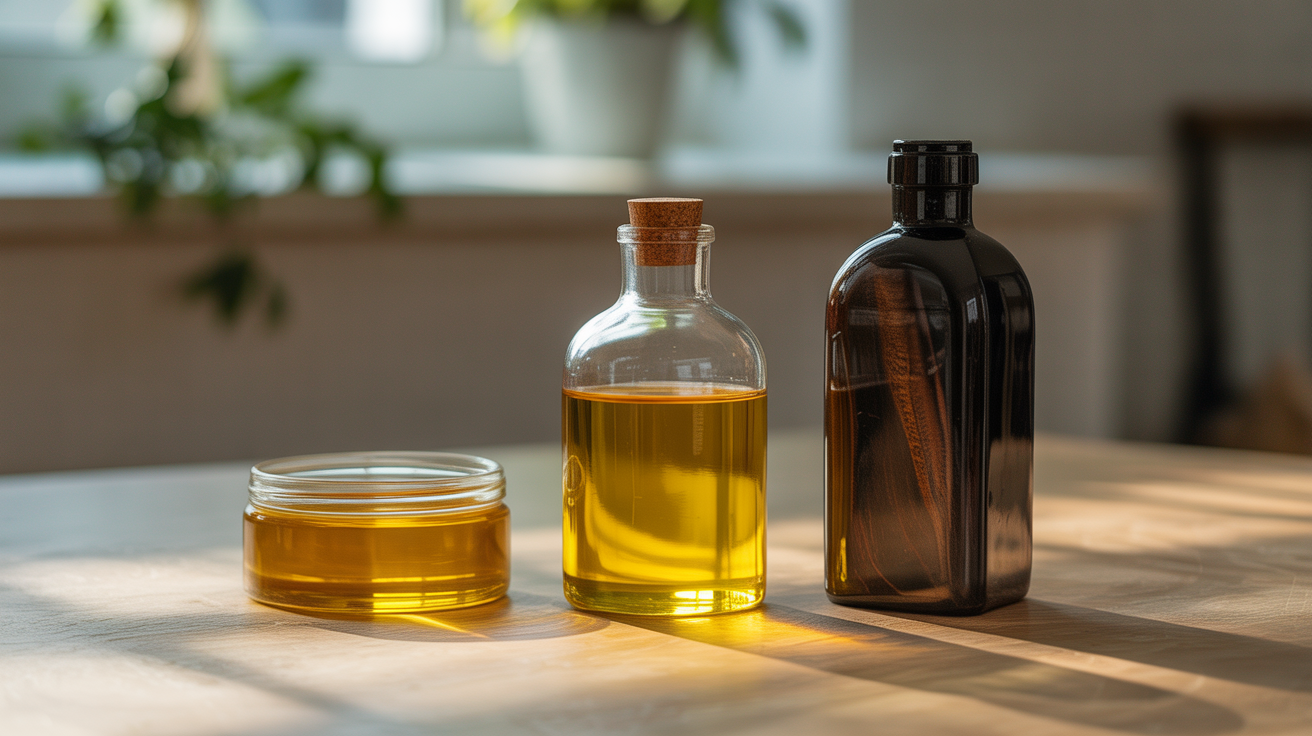
Oil finishes have a loyal following among woodworkers who want a low-build, natural look that lets the grain do the talking. They're also forgiving to apply and easy to repair, which makes them a practical choice for beginners. The catch is that "oil finish" covers a wide range of products with very different behaviors, and picking the wrong one for a project leads to disappointment.
What Makes an Oil Finish Different
Most film-forming finishes, like polyurethane or lacquer, build a protective layer on top of the wood. Oil finishes soak in rather than sitting on top, which gives furniture that hand-rubbed warmth that's hard to replicate with a brush-on product. The trade-off is protection. Oils leave wood far more vulnerable to moisture, heat, and abrasion than a hard film finish does. For a display piece or a low-traffic tabletop where aesthetics matter more than armor, that's an acceptable trade. For a kitchen table that will see daily abuse, you may want something tougher, or you can look at polyurethane as a topcoat after the oil cures.
The other defining characteristic is reparability. Scratches and worn patches in an oil finish can be rubbed out and re-oiled with no stripping, no sanding back to bare wood, and no visible lap marks.
Tung Oil: The Real Thing vs. What's on the Shelf
Pure tung oil comes from the seeds of the tung tree and is one of the few truly drying oils, meaning it polymerizes (hardens) rather than staying tacky indefinitely. It penetrates well, dries harder than boiled linseed oil, and provides mild water resistance once fully cured.
The problem is that most products labeled "tung oil" at hardware stores are not pure tung oil. They are blends that may contain mineral spirits, varnish, or other additives, and some contain little or no actual tung oil. Read the label. Pure tung oil is milky and thick; it has a short ingredient list. "Tung oil finish" or "tung oil varnish" is a different product.
Pure tung oil dries slowly, especially in cool or humid conditions. Full cure can take several weeks. Because of this, some woodworkers prefer polymerized tung oil, which has been heat-treated to speed the reaction. It goes on thicker and dries faster, though it loses a bit of the penetrating quality of the raw version.
Tung oil is not considered food-safe while wet, but once fully cured the polymerized film is generally regarded as safe for items like cutting boards and salad bowls. Check with the manufacturer if this matters for your project.
Boiled Linseed Oil: Fast, Cheap, and Worth Understanding
Boiled linseed oil (BLO) is raw linseed oil that has had metallic driers added to make it polymerize in a reasonable timeframe. Raw linseed oil is also a drying oil, but it dries so slowly, sometimes taking weeks per coat, that it is almost never used in finishing.
BLO dries to a softer film than tung oil and has a slight amber cast that warms up light-colored woods. It goes on cheaply and is widely available, which makes it popular for tool handles, outdoor wood, and as a conditioner before staining.
The amber color is worth factoring in on maple, ash, or any pale wood where you want to preserve the natural tone. On walnut or cherry, that warmth is usually a feature rather than a flaw. If you want a neutral base before adding color, read through how to apply wood stain evenly before you start layering products.
BLO is not food-safe because of the metallic driers. Keep it off cutting boards and food-contact surfaces.
Fire hazard. This is not optional reading. Oil-soaked rags, especially those with BLO, can spontaneously combust as the oil oxidizes and generates heat. Lay used rags flat in a single layer outdoors to dry completely before disposal, or submerge them in a metal container filled with water and seal the lid. Never ball them up or pile them in a trash can while still wet. This applies to tung oil and Danish oil rags as well.
Danish Oil: A Blend, Not a Standard
"Danish oil" is not a single formulation. It's a marketing category, typically a mix of drying oil, varnish, and solvent in varying ratios depending on the brand. Because there's no standard recipe, Watco Danish Oil and Liberon Danish Oil, for instance, behave differently and leave different sheens.
What most Danish oil products share is faster drying than straight linseed or tung oil, slightly more durability from the varnish component, and an easy wipe-on application. The blend means Danish oil sits somewhere between a pure oil and a wiping varnish, which is why some woodworkers use it as an all-in-one finish when they want a little more protection without committing to a full film finish.
The sheen on Danish oil is typically satin. It's not going to look glassy, but it has more depth than BLO alone. Because of the varnish content, it's slightly harder to repair seamlessly than a straight oil, though touch-ups are still much simpler than patching a polyurethane film.
Comparing the Three Options
| Feature | Tung Oil (pure) | Boiled Linseed Oil | Danish Oil |
|---|---|---|---|
| Drying time per coat | 24-72 hrs (longer in humidity) | 12-24 hrs | 6-12 hrs |
| Durability | Moderate | Low to moderate | Moderate (varnish blend) |
| Sheen | Matte to satin | Matte | Satin |
| Food-safe when cured | Generally yes (verify brand) | No (metallic driers) | No (additives vary) |
| Amber cast | Slight | Noticeable | Slight to moderate |
| Ease of repair | Excellent | Excellent | Good |
How to Apply an Oil Finish
Good prep makes a bigger difference with oil finishes than with film finishes. Oil emphasizes grain and figure, which is exactly what you want, but it also emphasizes sanding scratches. Work through your grits carefully before you open the can. A thorough read of how to sand wood properly before finishing will save you from rework.
- Sand to 180 or 220 grit, then wipe the surface clean with a tack cloth or a rag barely dampened with mineral spirits. Let the wood dry fully.
- Pour a small amount of oil onto the surface or onto a clean lint-free rag. Work in sections. You want to apply liberally enough to keep the surface wet for 5-15 minutes so the wood can absorb it.
- Wipe off all the excess before the oil starts to get tacky. This step is where beginners go wrong. Any oil left sitting on the surface will cure into a gummy, uneven film. Wipe until the surface feels dry to the touch.
- Let the coat cure fully. Rushing the next coat over a partially cured base causes adhesion problems and extended drying times. Check the product label for minimum recoat times, but erring on the longer side never hurts.
- Lightly scuff the cured surface with 320 or 400 grit, or a gray scotch-brite pad, to knock down any grain raise or dust nibs. Wipe clean.
- Apply a second coat the same way. Most projects look their best after three to four coats, with diminishing returns after that.
- Buff the final coat with a clean cloth after it has cured. If you want a bit more sheen, a coat of paste wax over the cured oil finish is a traditional and effective choice.
Frequently Asked Questions
Can I mix tung oil and linseed oil?
You can, and some woodworkers do to adjust drying speed or sheen. The result is unpredictable and not something most manufacturers would stand behind. It's simpler to just choose the oil that fits the project rather than trying to engineer your own blend. If you want the properties of multiple products in one, that's essentially what Danish oil already is.
How many coats does an oil finish need?
Two to three coats is the practical range for most projects. The first coat soaks in deeply and conditions the wood; the second coat fills in what the first coat missed and starts building a very thin surface layer. A third coat adds a bit more depth. Beyond that, each additional coat adds less and less. Don't try to rush durability by piling on coats faster than the oil can cure.
Why does my oil finish feel sticky?
Stickiness almost always means too much oil was left on the surface. Thin coats that are fully wiped off will not stay tacky. If you have a sticky coat, try wiping it down vigorously with a clean rag dampened with the same solvent (mineral spirits for most oil finishes). In stubborn cases, a light wipe with naphtha can help lift the uncured oil. Let the surface fully dry before applying another coat.
Is oil finish waterproof?
No. Oil finishes provide some water resistance, especially after multiple coats, but they are not waterproof. Standing water will penetrate over time. Oil finishes are a good choice for interior furniture and tools, not for outdoor applications or surfaces that stay wet regularly. For exterior wood, look for products specifically formulated for outdoor exposure.
Do I need a topcoat over an oil finish?
Not always, but it depends on the use. For low-traffic pieces, display shelves, and decorative items, oil alone is often sufficient. For surfaces that take real wear, like dining tables or frequently used counters, adding a topcoat after the oil cures completely will dramatically extend the life of the finish. The oil provides color and warmth; the topcoat provides protection.