Wood Finishing
How to Sand Wood Properly Before Finishing
Learn the right grit order, technique, and prep steps for sanding wood before staining or finishing. Get a smooth, professional result every time.
Sanding is the step most beginners rush through, and it's usually the reason a finish looks disappointing. Getting the surface right before you open a can of stain or finish is the whole game. Do it well, and everything that follows gets easier.
Here's what actually works, from choosing your starting grit to pulling the trigger on that final pass.
Start With the Right Grit
The grit number tells you how coarse the abrasive particles are. Lower numbers cut faster and leave deeper scratches; higher numbers leave finer scratches that disappear under finish. The goal is to work through a progression that removes the previous grit's scratches before moving on.
For most woodworking projects, you won't need to start lower than 80 grit unless you're flattening rough lumber or removing old finish. Starting at 80 on already-smooth wood just wastes sandpaper and time.
| Grit | When to Use It |
|---|---|
| 80 | Rough lumber, heavy stock removal, flattening glue joints |
| 120 | General smoothing after milling, removing machine marks |
| 150 | Transitional step; bridges the gap between 120 and 180 on open-grain woods |
| 180 | Final prep for most oil finishes; good stopping point for paint |
| 220 | Final pass before water-based or film finishes; closes grain on tight woods |
| 320+ | Between finish coats only; rarely useful on bare wood before staining |
A practical starting point for a project made from S4S (surfaced-four-sides) lumber: begin at 120, move to 150, finish at 180 or 220. That's three steps, and it's enough for most furniture-grade work.
Never Skip More Than One Grit
This rule saves more failed finishes than any other. Jumping from 80 directly to 220 feels efficient, but 220-grit paper can't erase the deep scratches left by 80. What you get is a surface that looks smooth but holds hidden scratch patterns that become obvious the moment you apply a dark stain.
Each grit removes the scratches from the previous grit. That's the only job it has. Move up by roughly 50 grit increments: 80, 120, 150, 180, 220. If you start at 120, you can skip to 180 and then 220 on most hardwoods, but don't push it further.
Sanding With the Grain (and Why It Matters)
Sanding across the grain or at a diagonal leaves scratches that run perpendicular to the wood fibers. Under clear finish or stain, these cross-grain scratches are highly visible, especially on light-colored woods like maple or ash.
Always move the sandpaper parallel to the grain direction. On a flat panel, that means working lengthwise. On curved or shaped pieces, follow the contour as closely as you can.
Sanding Blocks vs. Random Orbital Sanders
A sanding block keeps pressure even across the full face of the sandpaper. Finger-sanding without a block concentrates pressure at your fingertips and creates low spots, especially near edges.
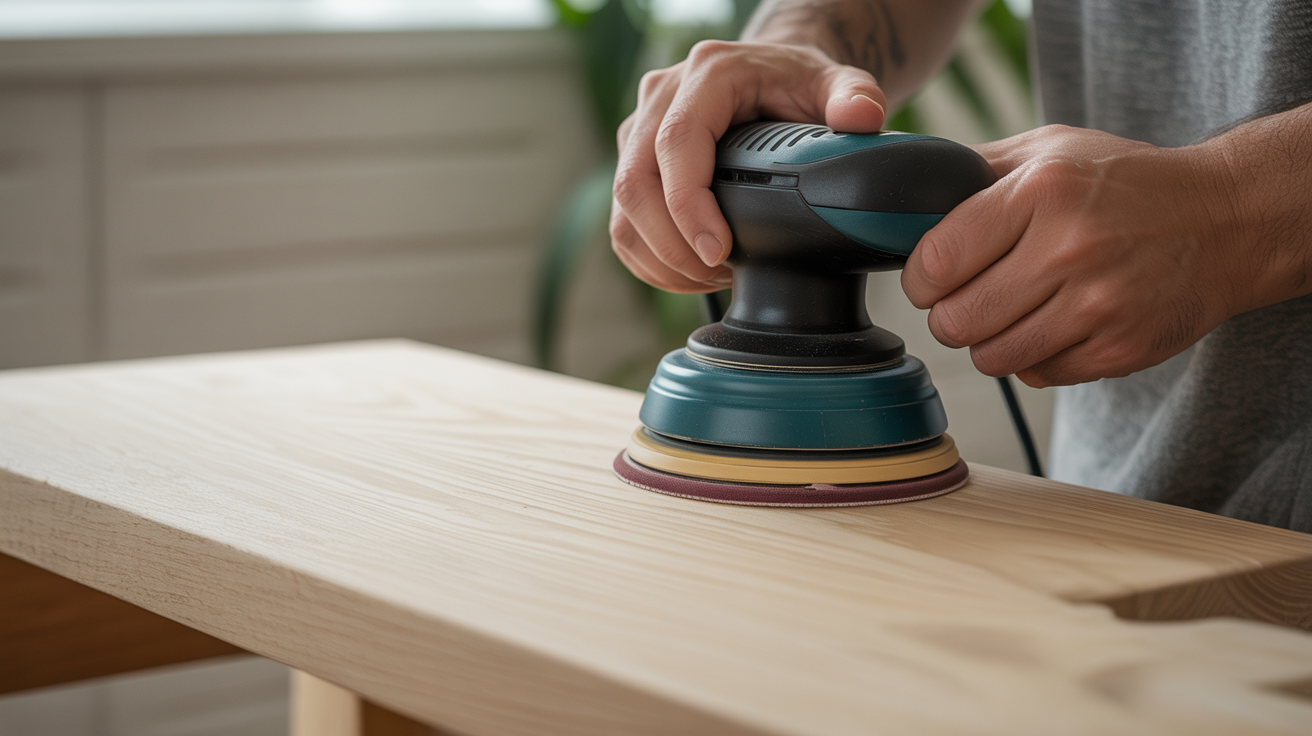
For flat surfaces, a random orbital sander is faster and leaves fewer visible scratches than straight-line hand sanding. The random orbit pattern reduces the chance of leaving parallel scratch tracks. That said, random orbitals do leave swirl marks if you move them too fast or apply too much pressure. Let the sander do the work, keep it moving, and don't press down.
After any power sanding, finish with a hand pass using the same grit, sanding with the grain. That final hand pass clears up any remaining swirl marks before you move to the next grit.
Edges and Inside Corners
Flat panels are easy. Edges and inside corners need more care. Wrap sandpaper around a small block for outside edges. For inside corners, fold the paper to a sharp crease and work it carefully by hand. Sanding blocks with rounded profiles work well on coves and other curved moldings.
Raising the Grain Before a Water-Based Finish
Water-based finishes raise the grain of the wood as they wet the fibers. That raised texture, left unchecked, creates a rough, fuzzy surface under the cured finish coat.
The fix is simple: after your final sanding pass, wipe the entire surface with a damp cloth. Use plain water, wrung out so it's damp but not dripping. Let it dry completely, usually 30 to 60 minutes depending on humidity. The grain will raise, stiffen, and feel slightly rough again. Sand it back down lightly with 220 grit, just enough to knock off the raised fibers. Then dust and apply your finish.
You won't need to do this step for oil-based finishes or penetrating oils. The solvents in those products don't raise the grain the same way.
Removing Dust Before Finishing
Sanding dust left on the surface gets trapped under finish and creates a gritty texture. Get it all off before you open a can of anything.
A vacuum with a brush attachment pulls most of the dust away. Follow with a tack cloth, which is a sticky, slightly waxy cloth that lifts fine particles the vacuum leaves behind. Wipe in one direction and turn or replace the tack cloth frequently. Don't scrub back and forth or you'll deposit the collected dust back onto the surface.
On open-grain woods like oak or ash, a brush gets dust out of the pores before vacuuming. Compressed air works too, but it tends to redistribute dust rather than remove it.
Dust Protection While You're Sanding
Sanding fine wood creates a lot of fine dust, and fine dust is a respiratory hazard. A basic dust mask rated N95 filters the particles that matter. A random orbital sander with dust collection cuts airborne dust significantly; even a basic shop vac attached to the sander makes a real difference.
When to Stop Sanding
For most projects, 220 grit is the finish line before stain or a clear topcoat. Going finer than 220 on bare wood before staining can actually work against you: very fine sanding burnishes the surface and closes the pores, which reduces stain absorption and can cause blotchy results, particularly on pine or cherry.
If you're applying a penetrating oil or a Danish oil, stopping at 180 often gives better penetration than 220. The slightly coarser surface holds more oil and gives a richer result. More on that in the guide to oil finishes, including tung, linseed, and Danish oil.
For paint, 180 is typically enough. The paint fills any remaining surface texture.
Final Check Before Finishing
Rake a bright light across the surface at a low angle before committing to a finish. This side lighting reveals scratches, mill marks, and low spots that are invisible under overhead light. Fix what you find now; it's much harder after the finish is on.
A quick wipe with mineral spirits does the same thing for oil-based finishes. It simulates the wet finish and shows you exactly what the surface will look like. The mineral spirits evaporate completely and don't interfere with the finish.
Once the surface passes the raking-light test and the dust is gone, you're ready. For tips on the next step, the guide on how to apply wood stain evenly covers technique, wiping vs. brushing, and timing. If you're going straight to a clear film finish, applying polyurethane without brush marks walks through that process.
Frequently Asked Questions
Do I really need to sand by hand after using a random orbital sander?
Yes, at least for the final grit. Random orbital sanders leave microscopic swirl patterns that become visible under stain or clear finish. A quick hand pass with the grain using the same grit removes those patterns in a few minutes and makes a noticeable difference in the final result.
What grit should I use right before staining?
Stop at 180 or 220 for most staining projects. Finer than that can close the pores and cause uneven absorption, particularly on softwoods and woods prone to blotching. If you're planning to use a pre-conditioner before staining, follow the manufacturer's recommendation, but 180 is almost always a safe stopping point.
Can I use the same sandpaper the whole time?
Sandpaper dulls as you use it. Dull paper cuts slower and generates more heat, which can burnish the surface rather than cut it cleanly. Change the paper or the disc when it stops cutting efficiently. Fresh paper feels slightly aggressive when you first use it; that's normal. When it starts feeling smooth and effortless, it's worn out.
My wood feels rough after sanding. What went wrong?
A few possibilities: you may have skipped a grit and left coarser scratches that the finer grit couldn't remove; the sandpaper may have been worn and leaving torn rather than cut fibers; or if you used water to raise the grain, the fibers may not have been fully knocked back down. Run through the progression again, hand-sand with the grain at each step, and check the paper frequently.
Does the type of wood change how I should sand?
Hardwoods like maple and cherry are dense and sand cleanly with a standard progression. Open-grain hardwoods like oak and ash have large pores that trap dust and need a brush to clean out. Softwoods like pine are softer and easier to over-sand, creating low spots around knots; lighter pressure and keeping the sander moving helps. Figured wood with wild grain benefits from hand-sanding at lower angles to avoid tearout.