Projects & Plans
How to Build Floating Shelves That Hold
A step-by-step guide to building DIY floating shelves using hidden shelf brackets. Learn how to find studs, size your board, and get a clean finish.
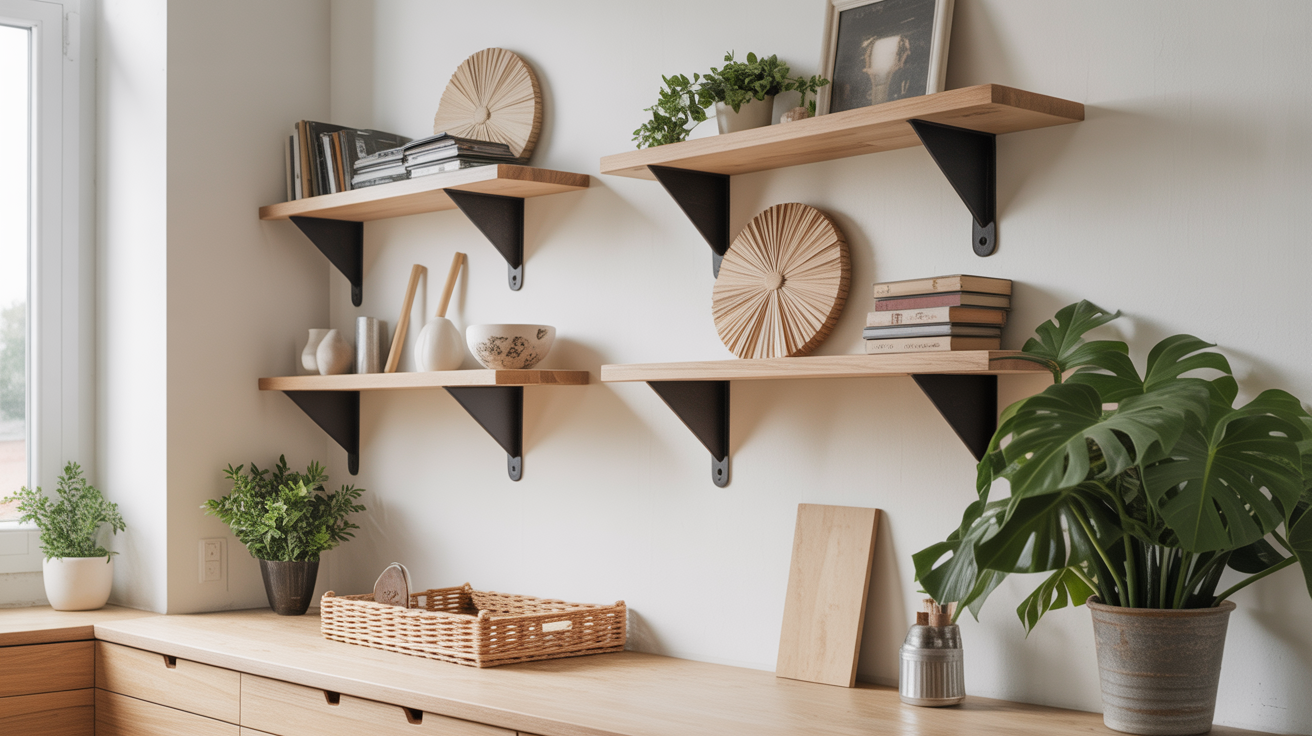
Floating shelves look like they're attached by magic, but the secret is a simple hidden bracket system that any beginner can set up with basic tools. This guide walks you through the whole wall shelf project from lumber selection to final installation.
What You'll Need
Gather everything before you start. A mid-build run to the hardware store adds time and breaks your focus.
Tools
- Stud finder
- Level (a 4-foot level gives better accuracy than a torpedo level)
- Drill with a #2 Phillips bit
- 1/2-inch drill bit (for the rod holes in the shelf blank)
- Circular saw or miter saw (or have the lumber yard rip the board to length)
- Sandpaper: 80-grit, 120-grit, and 180-grit
- Tape measure and pencil
- Safety glasses
Materials
| Item | Qty | Notes |
|---|---|---|
| 1x10 or 1x12 select pine board | 1 | Length = shelf width + 1 inch |
| Hidden shelf bracket kit (heavy-duty) | 1 per shelf | Look for 3/8-inch steel rods |
| #10 x 3-inch wood screws | 4 per bracket | Must reach into stud |
| Wood filler | 1 small tub | For any gaps or nail holes |
| Finish of your choice | 1 can | Polyurethane, wax, or paint |
A word on bracket weight ratings: most hidden bracket kits sold at home centers are rated for 50 to 75 pounds of evenly distributed load. For a shelf holding heavy books or cast iron, look for welded steel brackets rated at 100 pounds or higher.
Choosing Your Lumber and Bracket System
Pine is the standard choice for a first floating shelf. It's straight-grained, affordable, and takes both paint and stain well. A 1x10 is wide enough for paperbacks and small plants. A 1x12 gives you more depth for larger items.
Check each board at the lumber yard before buying. Hold one end up and sight down the face. Any twist or bow will make the shelf look uneven on the wall, and there is no easy fix once it's installed.
The hidden bracket system is what separates a real DIY floating shelf from a bracket-and-board combo. It consists of a wall plate that screws into your studs, plus steel rods that stick out horizontally. You drill matching holes into the back edge of your shelf blank and slide the shelf onto those rods. The wall plate hides completely once the shelf is in place.
The rods typically come in 8-inch and 12-inch lengths. For a shelf up to 10 inches deep, the 8-inch rods are plenty. Go to 12 inches if you want extra security or plan to store heavier objects.
If you are building a workbench or a larger set of shelves as a follow-up project, read the guide on how to build a sturdy workbench before you buy lumber in bulk. You can often cut a shelf blank from leftover bench-top material.
Finding Studs and Laying Out the Wall Plate
This is the most critical step. A shelf screwed only into drywall will fail. Every screw must go into a stud.
Use a stud finder and mark both edges of each stud with a pencil. Most studs are on 16-inch centers in residential construction, though older homes sometimes run 24-inch centers. Mark at least two studs so you have two anchor points for the wall plate.
Locating Your Shelf Height
Measure up from the floor at two points at least 4 feet apart. Use a level to draw a light pencil line across the wall. This line is your reference for placing the wall plate.
Hold the wall plate against the wall so its top edge aligns with your reference line. Mark the screw holes with a punch or a sharp pencil point pushed through the holes in the plate. Set the plate aside.
Drilling the Pilot Holes
Use a 1/8-inch bit to drill pilot holes at each mark. Keep the drill perpendicular to the wall. If the bit suddenly gets harder to push after the first inch or two, you have found the stud face. If it breaks through easily into nothing, you have missed. Shift your mark by an inch and try again.
Drive the #10 x 3-inch screws through the wall plate and into the studs. The plate should sit flush against the wall without any flex when you push on the ends.
Cutting and Drilling the Shelf Blank
Cut your board to finished length. For a clean cut on pine without tear-out, score the cut line with a sharp utility knife before running the saw blade through it.
Sand the faces and edges in sequence: 80-grit to remove any mill marks, 120-grit to smooth the surface, 180-grit to prep for finish. Sanding in the direction of the grain prevents visible scratches in the final finish.
Drilling the Rod Holes
This step requires care. The holes must be drilled straight and level or the shelf will tip.
Mark the center of each rod location on the back edge of the board. Use a square to extend the mark onto the face so you can see it clearly. Clamp the board flat to a workbench or a pair of sawhorses. Drill straight in, keeping the bit parallel to the top face of the board. A drill press makes this foolproof, but a steady hand and careful technique work fine.
Test-fit by sliding the shelf onto the rods before applying any finish. If a hole is slightly tight, wrap a piece of 80-grit sandpaper around a dowel and widen it a bit at a time.
If you enjoy this kind of joinery work, the guide on making a bookshelf from a single board shows how the same layout and drilling concepts apply to a freestanding project.
Finishing and Hanging the Shelf
Apply your chosen finish before hanging. It is much easier to coat all six faces on a flat surface than to try painting around the wall bracket later.
For a natural wood look, two coats of wipe-on polyurethane work well on pine. Wipe the first coat on with a lint-free rag, let it cure for four hours, sand lightly with 220-grit, then apply the second coat. For a painted shelf, prime first, sand with 180-grit after the primer dries, then apply two coats of trim paint.
Let the finish cure fully before hanging. Most polyurethanes reach a hard cure in 24 hours. Check the label.
Sliding the Shelf into Place
Once the finish is dry, slide the shelf onto the rods. It should feel snug but not forced. If you need to tap it, use a rubber mallet and a scrap block to protect the front edge.
Step back and check the level. Minor adjustments can be made by shimming under the shelf or adjusting the angle of the wall plate slightly, though getting the plate level in the first step usually means the shelf hangs true from the start.
For a first woodworking project that builds the same measuring and cutting skills, the simple wooden box project is a good place to start before tackling wall-mounted work.
Frequently Asked Questions
How much weight can a floating shelf hold? It depends on the bracket hardware and how many screws are in studs. A pair of heavy-duty hidden brackets, each fastened with two screws into solid studs, will hold 80 to 100 pounds of evenly distributed load on a 36-inch shelf. Avoid placing one heavy object at the center of a long shelf; weight at the midpoint creates more flex than the same weight spread across the full length.
What if my studs are not where I need them? You have two options. First, you can adjust the shelf location left or right a few inches to hit the studs. Second, you can use a piece of 3/4-inch plywood as a backer board. Lag-bolt the plywood into the studs, then screw your wall plate into the plywood. This lets you place the plate anywhere on the plywood face regardless of stud spacing.
Can I use this method on a tile or brick wall? Yes, with the right hardware. On tile, use a carbide-tipped masonry bit and tap-in plastic anchors rated for your expected load. On brick or concrete, use 3/8-inch concrete wedge anchors. The hidden bracket system itself is the same; only the fasteners change.
Do I need to seal the underside of the shelf? For shelves in dry areas like living rooms or bedrooms, two coats on all faces is enough. For a bathroom or kitchen shelf, seal the underside and edges the same as the top. Moisture absorbed through unfinished surfaces can cause pine to cup or warp over time.
What is the easiest way to remove the shelf later? Slide it straight out from the wall. The rods hold the shelf by friction and gravity, not by any fastener. You can remove it for repainting or to repurpose the space without touching the wall plate at all.