Wood Finishing
How to Fill Grain for a Glass-Smooth Surface
Learn how to fill wood grain on open-pore species like oak for a truly flat, glass-smooth finish. Step-by-step guide for beginners.
Grain filler closes the pores in open-grain wood so topcoats sit on a truly flat surface rather than sinking into each pore. One or two filler coats, properly applied, are the difference between a finish that looks thick and glassy and one that looks textured no matter how many clear coats you add.
Why Open-Grain Wood Needs Filling
Not all wood is the same. Some species have small, tight pores that nearly disappear under a finish coat. Others have large, visible pores that create a textured surface even after careful sanding.
Open-Grain vs. Closed-Grain Species
Open-grain species (also called ring-porous or large-pore) include oak, ash, walnut, mahogany, and elm. These all need grain filler for a flat, film finish.
Closed-grain species generally skip the filler step: maple, cherry, birch, and poplar all have fine pores that fill easily under standard topcoats.
Oak is the most common open-grain wood beginners run into, which is why getting a smooth finish on oak is genuinely tricky without this step. Each pore is a small crater, and standard topcoats like polyurethane or lacquer cannot fully bridge them in one or two coats. They sag into the pores instead. The result looks rippled or textured under raking light, even after hours of sanding.
Types of Grain Filler
There are three practical options. Each has trade-offs worth knowing before you buy.
Oil-Based Paste Filler
This is the traditional choice and still the most reliable for large-pored wood like oak and walnut. It comes as a thick paste, or a stiff liquid you thin with mineral spirits. You work it into the grain, let it tack up, then wipe off the excess across the grain.
- Best for: oak, ash, walnut, mahogany
- Dry time: 24 hours minimum before topcoating
- Thinning: mineral spirits, to a peanut-butter consistency
- Cleanup: mineral spirits
Water-Based Paste Filler
Same basic concept, but the carrier is water. It dries faster (sometimes 2 to 4 hours), cleans up with water, and has lower odor. It does raise the grain slightly, so a light sand is needed after it dries.
- Best for: same species, but when you need a faster workflow
- Dry time: 2 to 6 hours depending on temperature and coat thickness
- Thinning: water
- Cleanup: water while wet
Sanding Sealer as a Partial Substitute
Some woodworkers use a heavy coat of sanding sealer, sand it back flat, and repeat. This works passably on medium-pore woods like mahogany, but falls short on coarse oak. You end up needing four to six sealer coats to achieve what two paste-filler applications would handle. It is more practical to use a real paste filler and then seal on top.
How to Fill Wood Grain Step by Step
Before you reach for grain filler, your wood needs to be sanded flat and clean. Filler does not hide sanding scratches or mill marks. Get the surface to 150-grit, and for stained projects, apply the stain before the filler. (See how to apply wood stain evenly before filling if color is part of your plan.)
Step 1: Prepare the Filler
For oil-based paste filler, thin it with mineral spirits until it flows easily but is not runny. Test on scrap wood: it should fill the pores and stay workable for a few minutes before it starts to tack.
For water-based filler, add small amounts of water and stir until smooth. Some brands are ready to use as packaged.
Many fillers come in a neutral raw-wood color. You can tint them to match your wood by adding universal tint colorant (for oil-based filler) or water-based dye (for water-based filler). For a natural oak look, a tan or medium-brown tint reads better than a bright raw filler once the topcoat goes on. Test the tinted filler on scrap first.
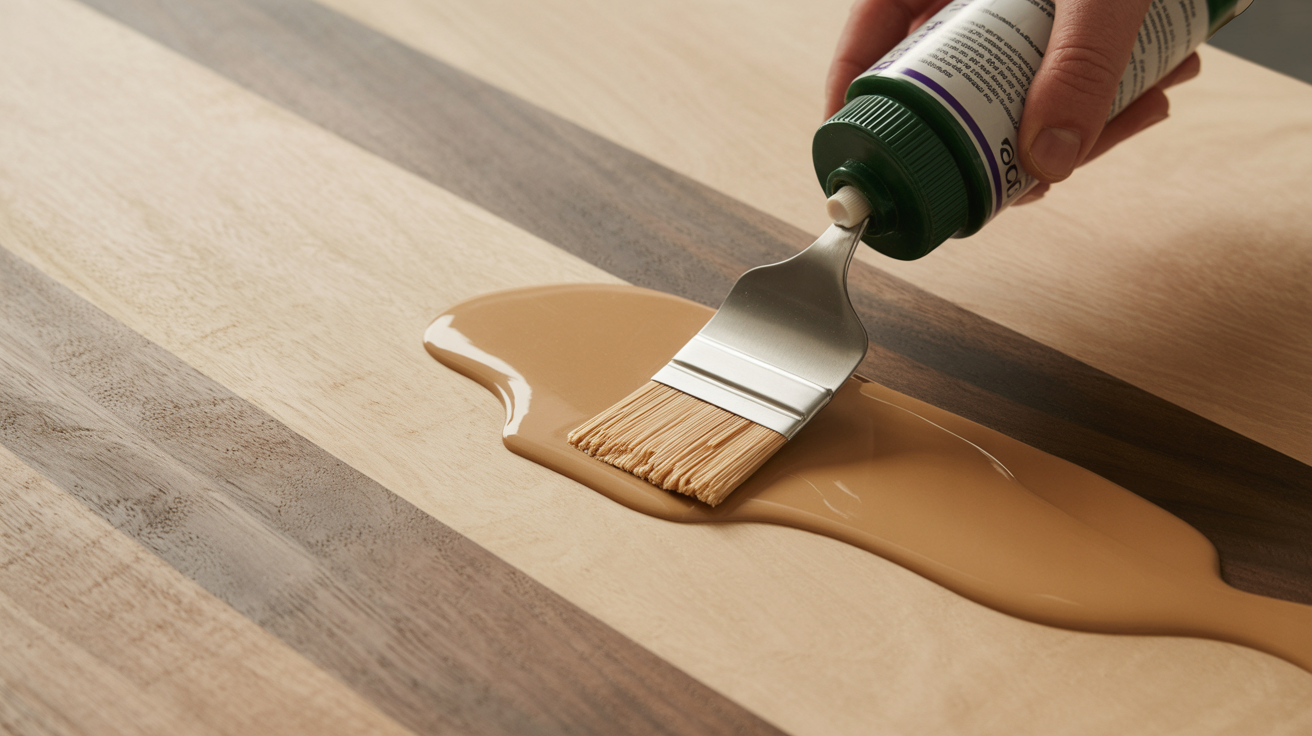
Step 2: Apply the Filler
Work in manageable sections, roughly what you can handle in 5 to 10 minutes. Apply the filler with a stiff brush, an old credit card, or a rubber squeegee. Work it across the grain as well as with the grain so it packs into the pores rather than just riding over them. Use circular or diagonal scrubbing motions to force filler down.
Apply a generous coat. You are filling holes, so underapplication leaves pores open.
Step 3: Wait for the Tack Stage
This is the step most beginners skip too fast. With oil-based filler, wait until the surface has a flat, almost-dry look and the filler no longer smears easily. Timing varies: 15 to 45 minutes depending on temperature, humidity, and coat thickness.
With water-based filler, the surface will look dry but may still be slightly soft underneath. Test a small corner with your fingertip before committing to the wipe-off.
Step 4: Wipe Off the Excess
Wipe across the grain with a coarse cloth. Burlap, rough canvas, or an old piece of denim all work well. Wiping across the grain prevents you from dragging filler back out of the pores. Use firm pressure. Most of the filler comes off the surface, leaving only what packed into the pores.
Follow with a cleaner pass using a lint-free cloth to remove any remaining haze.
Step 5: Let It Dry and Check
Let the filler dry fully. For oil-based, that means overnight. For water-based, 4 to 6 hours is typical, though 24 hours is safer before applying a film finish over it.
Once dry, hold a work light parallel to the surface. If you still see visible pores under raking light, apply a second coat. Most open-grain woods need two passes for a genuinely flat fill.
Step 6: Sand Lightly
After the filler is fully dry, sand with 220-grit to knock off any filler that dried on the surface rather than in the pores. Do not sand aggressively. The goal is a flat surface, not a bare one. Learning to sand wood properly before finishing will help you judge how much pressure to use here. Wipe away all dust with a tack cloth before your topcoat.
Topcoating Over Grain Filler
Once the grain is filled and the surface is flat, your topcoat builds evenly and looks significantly smoother. A few compatibility notes:
Oil-based filler under oil-based topcoat: straightforward. Standard polyurethane, varnish, and oil-based lacquer all work without issue.
Water-based filler under water-based topcoat: also straightforward. Water-based polyurethane and lacquer go on cleanly.
Oil-based filler under water-based topcoat: wait the full dry time and confirm no solvent smell remains. Water-based finishes can fish-eye over oils that have not fully cured.
Grain filler under penetrating oil finishes: grain filler mostly blocks the pores that penetrating oils need to absorb into. It is not the right combination. Penetrating oils are not film finishes and rely on pore absorption to build a protective layer. See oil finishes explained: tung, linseed, and Danish oil for when those finishes make more sense than a filled, film-finished surface.
Common Grain Filler Mistakes
| Mistake | What Happens | Fix |
|---|---|---|
| Wiping with the grain | Pulls filler back out of pores | Always wipe across the grain |
| Wiping too soon | Filler smears, surface stays hazy | Let it tack before wiping |
| Wiping too late | Filler hardens and refuses to wipe clean | Dampen with solvent and scrub off |
| One coat on coarse oak | Pores still visible under finish | Apply a second coat |
| Sanding too aggressively after | Removes filler from pores | Use 220-grit, light pressure only |
| Staining after filling | Stain cannot reach wood under filled pores | Stain first, fill second |
Frequently Asked Questions
Do I need grain filler for every wood species?
No. Tight-grained species like maple, cherry, and birch do not need filler. Grain filler is most useful for ring-porous or large-pore species like oak, ash, walnut, and mahogany. If you are unsure, apply a test coat of clear finish on scrap and look for visible pore texture under a raking light. That tells you immediately whether filling is worth the extra step.
Can I use wood putty instead of grain filler?
Wood putty and grain filler are different products. Putty is for filling holes, gaps, and cracks. Grain filler is specifically designed to fill the tiny surface pores distributed across the entire face of a board. Putty is far too thick and dries too rigid to work across a whole surface without looking patchy.
How many coats of grain filler does oak need?
Most red oak needs two coats. White oak has slightly smaller pores and sometimes fills in one. After the first coat dries, look under a raking light. If you still see open pores, apply a second coat, let it dry fully, and sand with 220-grit before topcoating.
Can I tint grain filler to match my stain color?
Yes, and this often produces a better result than leaving it neutral. Add universal tint colorant (for oil-based filler) or water-based dye (for water-based filler) a little at a time until the paste approximates your stain. The filler will read slightly lighter under finish than the bare tinted paste, so test on scrap before filling the whole project.
What grit sandpaper should I use after grain filler dries?
220-grit is the right choice after filler. The goal is to scuff off surface haze and any dried filler sitting above the pores without pulling the fill out of the pores themselves. Avoid anything coarser than 180 at this stage. Keep your strokes light and check often.