Projects & Plans
How to Make a Wall-Mounted Tool Rack
Build a DIY tool rack from plywood or set up a French cleat system for modular wall mounted tool storage. Beginner-friendly guide with stud-finding and ancho...
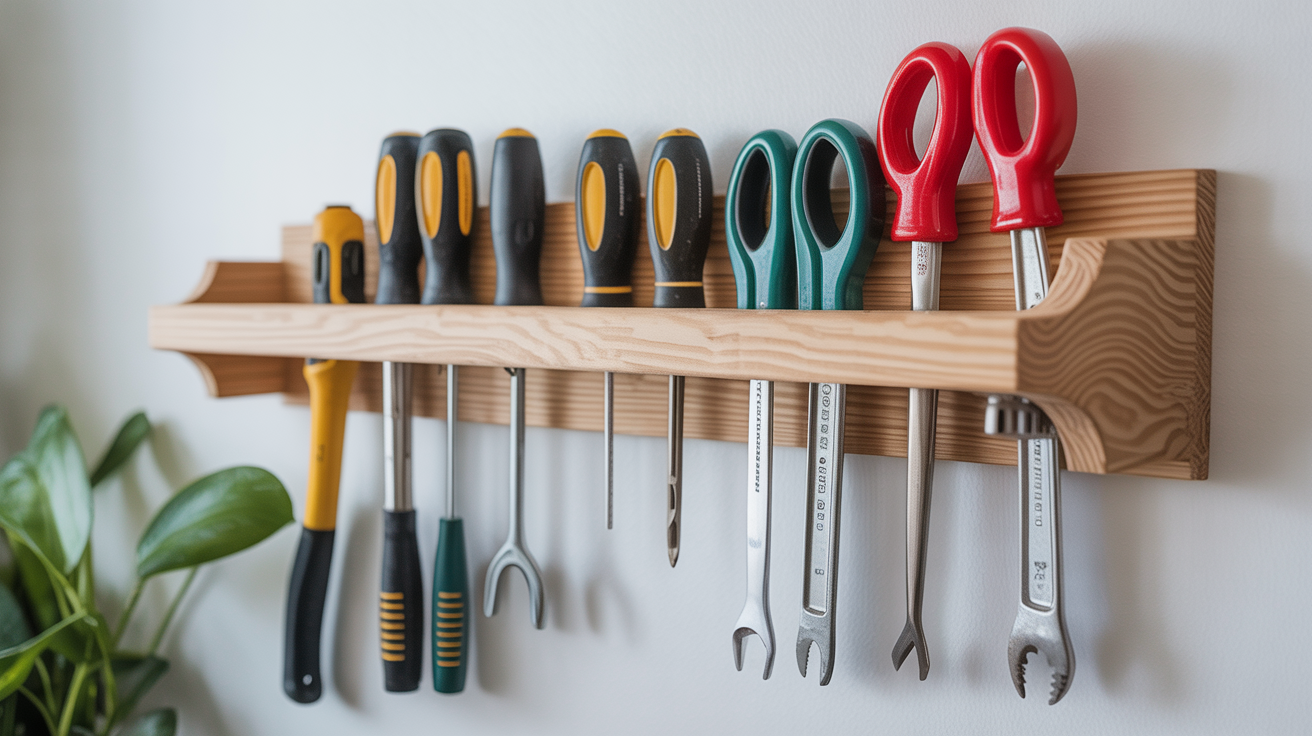
A wall-mounted tool rack clears your bench of clutter and puts the tools you reach for most right at eye level. You can build a simple fixed rack in an afternoon, or go modular with a french cleat system that lets you rearrange holders whenever your shop changes.
What You Will Need
Gather these materials before you start. Most of it comes from a single sheet of plywood and a couple of 2x4s.
| Material | Notes |
|---|---|
| 3/4" plywood (sheet or offcuts) | BC or birch; either works |
| 2x4 lumber | For french cleats; 8-foot lengths |
| 1-1/4" and 2-1/2" screws | Coarse-thread for wood |
| Heavy-duty wall anchors | For spots between studs |
| Sandpaper, 80 and 120 grit | Smooth cut edges |
| Wood glue | Helps bond laminated holders |
Tools you will need:
- Circular saw or table saw
- Drill and bits (including a 1" spade or Forstner bit)
- Stud finder
- Level
- Tape measure and pencil
- Speed square
Building a Simple Plywood Tool Rack
This is the straightforward option: a back panel, a drilled shelf, and a handful of screws into studs. Total cost runs under $20 using offcuts, and the build takes an afternoon.
Cutting the Panel and Shelf
Cut a back panel from 3/4" plywood, roughly 24 inches wide by 18 inches tall. That size spans the space between two studs at standard 16-inch spacing and leaves room to add more panels later.
Cut a shelf piece about 4 inches deep and the same width as the back panel. This shelf holds screwdrivers, chisels, and handled tools upright.
Drilling the Holder Holes
Along the shelf, drill 1-inch holes spaced 2 inches apart. A spade bit or Forstner bit makes clean holes; a twist bit will work but leaves rough edges worth a quick sand afterward.
For a hammer or mallet, cut a V-notch at the front edge of the shelf with a jigsaw. The handle sits in the notch, head resting on the shelf surface.
Attach the shelf to the back panel using two 1-1/4" screws driven from behind, plus a bead of wood glue along the joint. Clamp it and let it sit for an hour before hanging.
Mounting the Fixed Rack
Hold the assembled rack against the wall in your chosen spot. Mark the stud locations (covered in the next section), pre-drill through the back panel, and drive 2-1/2" screws into at least two studs. Two screws at the top and two at the bottom is enough for a panel this size holding typical hand tools.
If you want practice with basic assembly before tackling wall storage, the simple wooden box project covers drilling, gluing, and fastening in a forgiving format.
The French Cleat System
A french cleat is a strip of wood ripped at a 45-degree angle. One strip goes on the wall, bevel pointing up. The matching strip goes on the back of any holder or shelf, bevel pointing down. The two angled lips hook together and support the load. To move a holder, you lift it off and rehang it somewhere else along the wall strip.
This is the shop organization method that woodworkers return to repeatedly because it is genuinely flexible. Add a holder for a new tool in 15 minutes. Rearrange the whole wall in 30.
Ripping the Cleats
Set your table saw or circular saw to 45 degrees. Rip a 2x4 down its length. You get two matching pieces: one with the bevel pointing up and toward the wall (this is your wall cleat), one with the bevel pointing down and away from the wall (this goes on the back of holders).
Cut your wall cleats to whatever run you want. Many shops start with a single 8-foot strip to see how the system works, then add more rows later.
Installing the Wall Cleats
Mount rows of wall cleat horizontally, spacing each row 4 to 6 inches apart vertically. Start about 12 inches below the ceiling. The bevel faces up and in toward the wall on every row.
Drive 2-1/2" screws into studs at every crossing, at least two screws per stud. Use a level on each row; a crooked cleat makes every holder hang visibly tilted. A long level or a chalk line helps keep rows parallel.
Building Modular Holders
For each tool, cut a backer piece of plywood roughly 6 to 10 inches wide and attach a matching angled cleat strip to the top back edge. Then fasten whatever holds the tool to the front face.
A few examples that work well:
- Chisel shelf: A shallow tray with a low front lip, hanging on one cleat strip across the back.
- Hammer hook: A 3-inch block of 2x4 with a 1-1/4" hole drilled through it, glued and screwed to a backer. The handle slides through the hole.
- Saw holder: A wider backer with two short dowels angled slightly downward. The handsaw hangs by its handle and heel between the dowels.
- Square slot: Two thin strips of plywood spaced just wider than the blade, creating a slot the square slides into vertically.
The upfront setup takes longer than a fixed rack, but once the wall strip is in, new holders are quick.
Once wall storage is sorted, a sturdy workbench below it ties the whole workspace together.
Finding Studs and Anchoring Securely
This step is where most DIY tool rack installs fail. Drywall anchors alone are not reliable for anything heavier than a framed picture. Screws into studs are the right answer.
Stud finder: Run it slowly across the wall, marking both edges of each stud. The center sits midway between those marks. Standard stud spacing is 16 inches on center; older homes sometimes use 24 inches.
Tap test: Knock on the wall with your knuckle. A hollow thud means no stud; a dull, denser sound suggests a stud is behind it. Less reliable than a stud finder, but good for quick confirmation.
Rare-earth magnet: Drag a strong magnet slowly across the wall. It will snap toward the drywall screws or nails that attach the drywall to studs. Mark those spots.
Between studs: Use heavy-duty toggle bolts or Snaptoggles when you must. These are rated for 50-plus pounds in drywall and hold well for lighter tool collections. For anything heavy, keep that anchor count low and stud-screw count high.
Always pre-drill: Pilot holes slightly smaller than the screw shank prevent splitting, make driving easier, and let the threads grip the wood fibers properly instead of pushing them aside.
A french cleat wall strip that spans multiple studs and gets screwed in at every crossing needs no anchors at all. That continuous contact with the stud layout is one reason the system holds so reliably.
Planning Your Shop Organization Before You Mount Anything
Five minutes of layout planning saves an hour of repositioning. A few questions worth answering first:
- Which tools do you grab most often? Those go at chest height in the center.
- Where do you stand when you work? Mount the rack on the wall you face, not behind you.
- What depth do you need? Saw handles and mallet heads stick out further than expected. Leave at least 6 inches of clear space in front of the rack.
A rough layout guide:
| Tool Group | Where to Put It |
|---|---|
| Chisels and screwdrivers | Eye level, drilled shelf |
| Hammers and mallets | Chest height, hook or notch |
| Squares and marking gauges | Upper area, simple shelf or slot |
| Hand planes | Lower section, dedicated cradle |
| Tape measures and pencils | Small shelf, chest height |
For adding a dedicated shelf alongside the tool rack, the cutting and dado techniques in building a bookshelf from a single board translate directly to shop shelving.
Frequently Asked Questions
Do I need a table saw to cut french cleats? No. A circular saw with a straightedge guide cuts the 45-degree bevel reliably. Clamp a straight board as your fence, set the saw to 45 degrees, and rip the 2x4 in one pass. Small tearout does not affect how the cleat holds.
How much weight can a french cleat wall hold? Each cleat strip screwed into studs with proper fasteners holds well over 100 pounds along its length. The limit is the screws and the studs, not the wood. For hand tools, weight is rarely a concern. For heavier power-tool holders, screw into studs every 16 inches and you will not have problems.
What plywood is best for a tool rack? 3/4" BC plywood works for most racks. Birch plywood has a smoother face and takes paint or finish well if appearance matters. Avoid OSB for small holders; the rough, splintery surface is hard to work with at small sizes. Do not use 1/2" plywood for wall cleats; it splits under load more easily than 3/4".
Can I mount a tool rack on a concrete or masonry wall? Yes, with a hammer drill and masonry fasteners. Tapcon screws are reliable and widely available. Drill the pilot hole at the diameter listed on the packaging, blow out the dust, and drive the screw. Slower than wood-framed walls, but just as solid once in.
How long does the whole project take? A simple fixed plywood rack runs two to three hours from first cut to hanging. A full french cleat wall strip with six to eight holders is closer to a weekend: one afternoon for the wall cleats, another to build and hang all the holders. After the wall strip is in, each new holder takes about 15 minutes.