Hand Tools
How to Sharpen a Hand Saw So It Cuts Straight and True Again
Learn how to sharpen a hand saw step by step: jointing, shaping, setting, and filing, plus when a saw is worth restoring versus replacing.
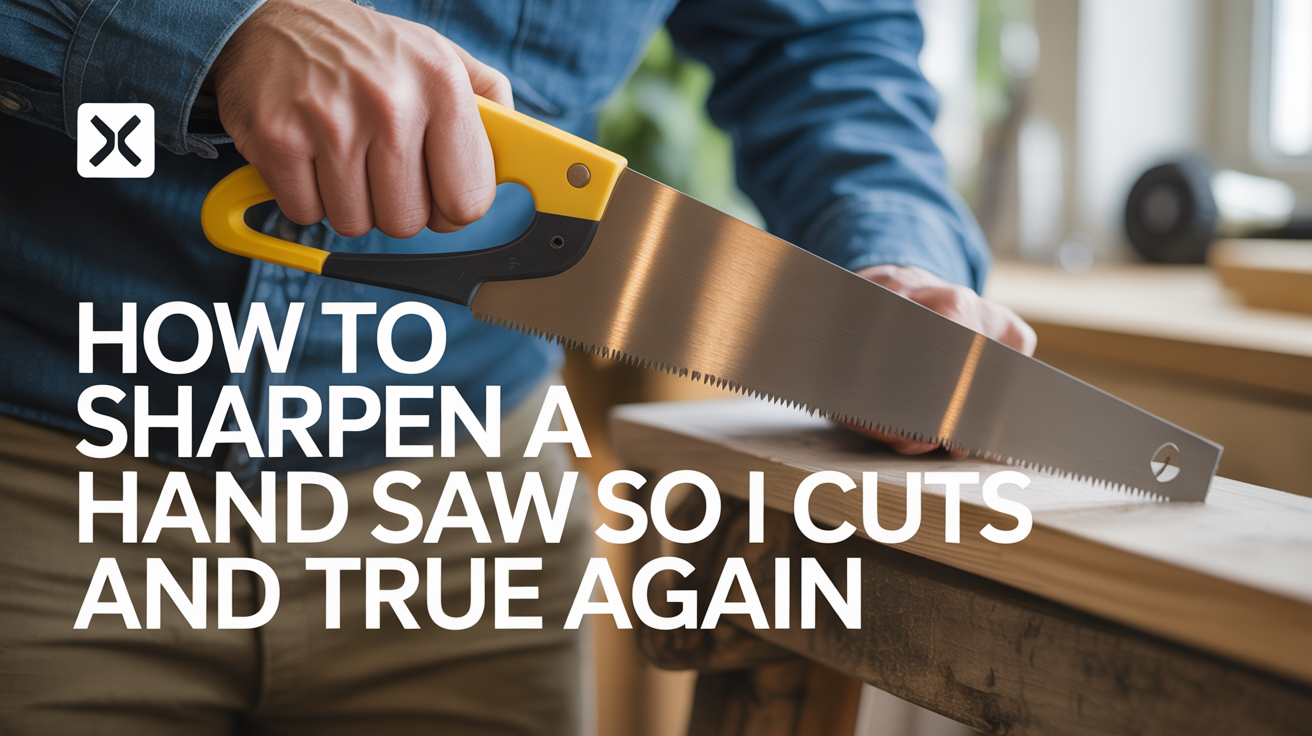
A hand saw that used to track a pencil line now wanders off to one side, or it takes twice the strokes to get through the same piece of pine. Before you write the saw off, know that learning how to sharpen a hand saw is one of the most useful skills you can pick up in a small shop. It costs a file, a saw set, and an afternoon, and a saw you restore yourself often cuts better than it did new, because you're tuning it to how you actually work.
This isn't a five-minute job the first time. Expect to go slow and get faster with each saw after. Here's the sequence in the order that actually works, along with how to tell when a saw plate has had it and belongs with a professional sharpener instead of your vise.
Why Your Saw Wanders Off the Line
Before you touch a file, figure out what's actually wrong. Three things usually cause a saw to drift or bind:
- Uneven tooth height. A few teeth sticking up higher than their neighbors do all the cutting and steer the saw wherever they lean.
- Uneven set. "Set" is the slight outward bend given to alternating teeth so the kerf is a hair wider than the plate. Heavier set on one side pulls the saw toward the side with less clearance.
- Dull or rounded edges. Teeth that have lost their crisp edge push wood fibers around instead of shearing them, so you push harder, the saw flexes, and it wanders.
Sharpening addresses all three in order: level the teeth first, shape them, set them evenly, then sharpen the actual cutting edges.
Rip Teeth vs. Crosscut Teeth, in Plain Terms
You'll sharpen a rip saw and a crosscut saw differently, so it helps to know what you're looking at.
A rip saw cuts with the grain, and its teeth work like a row of tiny chisels, standing nearly straight up and shearing the wood fibers lengthwise. A crosscut saw cuts across the grain, and its teeth are filed at an angle so each one works more like a small knife, slicing fibers on both sides of the kerf before the waste lifts out.
Tooth spacing matters too. Fewer, larger teeth per inch remove wood faster but leave a rougher surface; more, smaller teeth per inch cut slower but smoother. Neither is better, just suited to different jobs, which is why a rip saw and a crosscut saw feel so different in use even at the same length.
| Saw type | Cuts | Tooth shape | Feel in the cut |
|---|---|---|---|
| Rip saw | With the grain | Nearly vertical face, chisel-like | Aggressive, fast, rougher finish |
| Crosscut saw | Across the grain | Angled, knife-like points | Slower entry, cleaner finish |
If you're new to reading a saw's geometry at all, it's worth pairing this with a primer on using a hand saw for straight, clean cuts so you know what "cutting well" is supposed to feel like once the saw is sharp again.
Tools You'll Need
You don't need a full sharpening bench to do this properly. A basic kit covers it:
- A saw vise or clamp that holds the plate rigid along its length without vibrating.
- A triangular saw file sized to the saw's teeth per inch. Coarser saws need a bigger file; too small a file rounds over the tooth points instead of shaping them.
- A saw set, a small pliers-like tool with an anvil that bends each tooth a consistent amount.
- A flat file or jointer for leveling the tooth tips before shaping.
- A file handle, because gripping a bare tang for an hour is unpleasant and imprecise.
- Good light, and a way to mark your starting tooth so you don't lose your place partway around.
The motions are close cousins to freehand chisel work. If you've already worked through a repeatable method for sharpening chisels, the steady hand angle and light pressure will feel familiar.
The Sharpening Sequence
Work in this order every time. Skipping a step, especially jointing, is the most common reason a "sharpened" saw still cuts crooked.
Step 1: Jointing
Clamp the saw with the teeth just proud of the jaws. Lay a flat file across the tooth tips and run it the length of the blade in a few light passes, letting it ride on the teeth rather than pressing down. This puts a tiny, uniform flat on the tip of every tooth. Any tooth shorter than its neighbors won't show a flat yet, which tells you where more shaping is needed. Don't skip this even on a saw that looks fine; it's cheap insurance against chasing one high tooth around the whole blade.
Step 2: Shaping
File each gullet (the valley between teeth) to restore the correct tooth angle, working every other tooth from one side of the blade, then flipping the saw for the alternating teeth. File until the flat spot from jointing just disappears on each tooth, no further. This is where rip and crosscut geometry gets cut back in: keep the file square across the plate for a rip saw's near-vertical faces, and add the angled tilt for a crosscut saw's knife-point teeth. Go slow; removing too much metal here is the easiest way to turn an afternoon job into a much longer one.
Step 3: Setting the Teeth
With shaping done, run the saw set over every other tooth, then flip the blade and do the rest, matching the anvil setting to the saw's teeth per inch (the tool's plate or manual shows which notch to use). You want just enough set that the plate doesn't bind in the kerf; more than that only widens the cut and wastes effort.
Step 4: Final Sharpening
This pass restores the edge. Filing the same gullets again, hold the file at the correct angle for the saw type (roughly square for rip teeth, angled for crosscut teeth) and take two or three light, even strokes per gullet, removing the same amount from each tooth. Consistency matters more than perfection on any single tooth. When you've gone all the way around both sides, wipe the plate down and check that every tooth catches the light the same way.
Testing the Cut on Scrap
Before you trust the saw on a real project, cut a few inches into a piece of scrap pine or poplar clamped securely. A properly sharpened, correctly set saw should start easily, track straight without you steering it, and cut with noticeably less effort than before. If it still pulls to one side, the set is probably uneven; check both sides with the saw set again. If it cuts fine but feels rough or grabby, a light second pass on the lagging gullets usually cleans it up.
When to Retire a Saw (or Send It Out)
Not every saw is worth sharpening yourself, and a few are barely worth restoring at all.
- Cracked or badly kinked plates will never track straight no matter how good the tooth line is; the steel itself is compromised.
- Teeth filed down to nubs from decades of prior sharpening leave nothing left to shape.
- Rust pitting along the tooth line can eat away enough metal that a consistent edge is impossible to hold.
- Missing or badly bent teeth in more than a short stretch usually mean more filing than the plate has metal to spare.
If a saw is otherwise good but the geometry is more than you want to tackle solo, a professional sharpening service can true it up for a reasonable fee, and it's a fine way to learn what a correctly sharpened saw should feel like before you try the next one yourself. Older saws picked up secondhand are often worth the investment, the same logic that applies to tuning up an old hand plane that just needs patience rather than replacement.
A Safety Note
Saw files and exposed teeth deserve real respect. A file's bare tang can puncture skin if it slips, so always fit a handle before you start. Clamp the blade so it can't shift, keep your free hand clear of the tooth line, and be deliberate when flipping the saw in the vise; exposed teeth bite a careless hand as readily as they bite wood. Work at a pace where you stay in control of the file, not the other way around.
Frequently Asked Questions
How often does a hand saw need sharpening?
It depends on use and the wood you're cutting. A saw used occasionally on softwoods might go years between sharpenings, while one used weekly on hardwoods or plywood may need touching up every few months. Let performance tell you: when it takes noticeably more strokes or pressure to cut, it's time.
Can I sharpen a saw with induction-hardened teeth?
Generally no, not with a standard file. Many inexpensive modern saws have teeth hardened by induction so they hold an edge longer, but that hardness resists a file too. These are meant to be replaced or have their blade swapped rather than resharpened.
What teeth-per-inch count should I aim for when reshaping an old saw?
Match what's already there unless you have a specific reason to change it. Reshaping to a different count means removing far more metal and re-spacing every gullet, a much bigger job than routine sharpening.
Do I need a saw vise, or can I clamp the blade in a woodworking vise?
A dedicated saw vise helps because its narrow jaws support the plate close to the teeth and reduce chatter, but a standard bench vise with wood cauls will get a beginner through their first few saws fine. Upgrade later if you find yourself sharpening often.