Hand Tools
How to Tune Up an Old Hand Plane
A step-by-step guide to tuning up an old hand plane: flatten the sole, sharpen the iron, and adjust for a clean, consistent shaving.
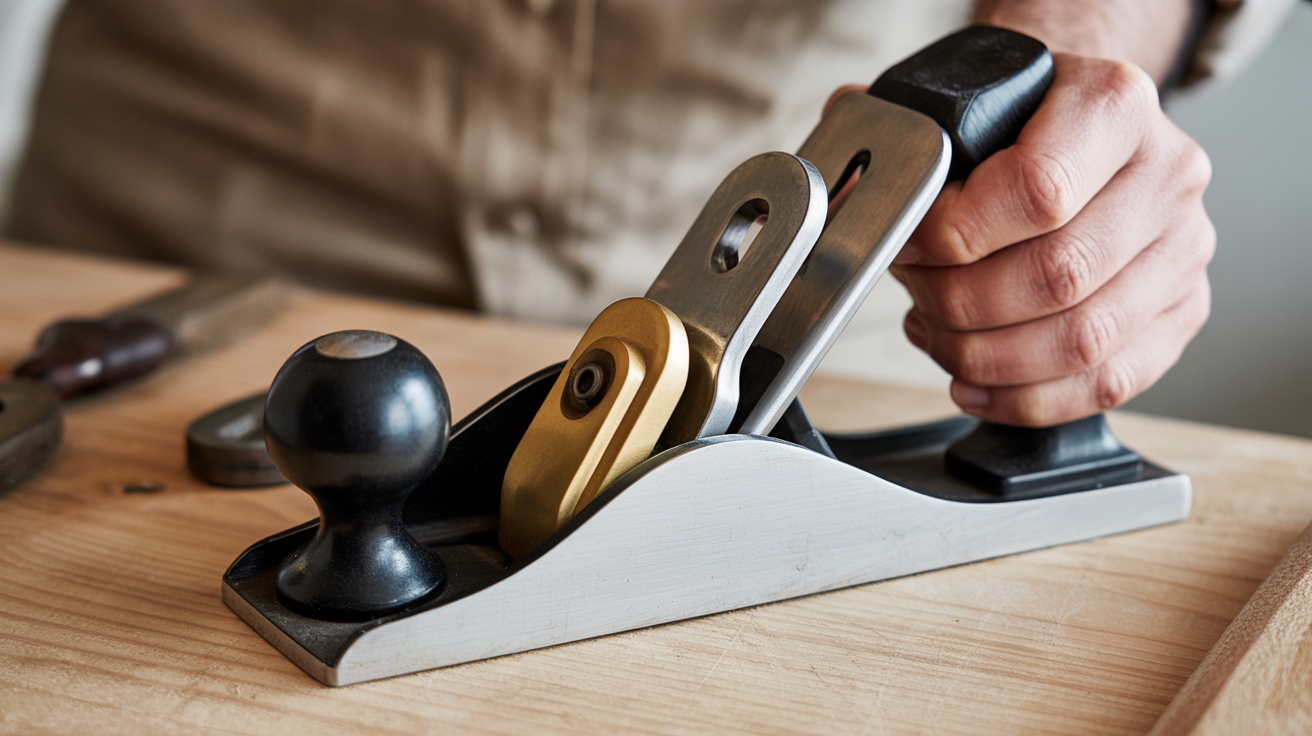
A flea market hand plane can outperform a brand-new one once it's properly set up. Tuning up an old hand plane means flattening the sole, sharpening the iron, and dialing in the adjustments so it takes a clean, consistent shaving.
What You Need Before You Start
You do not need a machine shop. Most of the work happens on a flat surface with sandpaper and a sharpening stone.
Tools and materials:
- Flat reference surface (a piece of float glass, a granite surface plate, or a well-jointed piece of hardwood)
- Wet/dry sandpaper: 80, 120, 180, and 220 grit, then 400 and 600 if you want a finer sole finish
- Water or light oil depending on your sharpening stones
- Sharpening stones or sandpaper on glass for the iron (see sharpening chisels: a simple repeatable method for the technique, which applies directly to plane irons)
- A flat-head screwdriver and a mallet for stubborn parts
- Rust eraser or 0000 steel wool
- Light machine oil or camellia oil
- A permanent marker
You can tune a vintage Stanley No. 4 or No. 5 in an afternoon without spending much money. The results are worth the time.
Disassemble and Clean the Plane
Start by taking the plane apart completely. Loosen the lever cap, lift out the cap iron and blade as a unit, and then separate the two. Set each piece on a rag.
Parts to remove in order:
- Lever cap
- Blade (iron) and cap iron
- Frog (if it is loose or you need access to the bed)
- Tote and knob (optional, but useful if you are oiling the handles)
Clean rust and grime off all metal parts. A rust eraser works well on flat faces. For pitting and built-up grease, use 0000 steel wool with a few drops of machine oil. Scrub along the length of the iron's back, not across it. On the body, work the steel wool into the corners of the mouth and along the sides.
For wood handles, 220-grit sandpaper followed by a coat of boiled linseed oil brings them back to life. Wipe off the excess after 30 minutes. One coat is usually enough.
Rust on the sole is fine as long as the sole itself is flat. Do not obsess over cosmetic rust. What matters is geometry.
Flatten the Plane Sole
This step is what most people skip, and it is the reason their old plane chatters or leaves ridges.
A hand plane sole does not need to be perfectly flat everywhere. The areas that matter are the toe (front), the area directly in front of the mouth, and the heel (back). The middle can be slightly hollow. The sides of the mouth need to be flat and level with each other.
How to check flatness:
- Rub the sole with a permanent marker.
- Lay a piece of 80-grit wet/dry sandpaper on your reference surface. Float glass works well here.
- Hold the plane assembled but with the iron retracted below the sole.
- Move the plane in figure-8 strokes across the sandpaper for about 20 passes.
- Examine the sole. The marker wears off the high spots first.
High spots at the toe and heel are common on old planes. A concave sole, hollow in the middle, is acceptable. A convex sole, or high spots right in front of the mouth, will cause problems.
Work through the grits: 80, then 120, then 180, then 220. This removes the deep scratches left by coarser grits and produces a smooth, flat surface. Keep the iron retracted and the cap iron out while you do this, but assemble the lever cap at light tension so the plane body is stressed the same way it will be in use.
Flattening the sole on a vintage Bailey-style plane typically takes 20 to 40 minutes. Planes that have been dropped or stored on a cement floor can take longer.
Sharpen the Iron
A sharp iron matters more than any other adjustment. A plane with a perfectly flat sole will still tear grain if the iron is dull.
The back comes first:
The back of the iron, the flat side, needs to be flat from the cutting edge back about an inch. Lay it flat on your sharpening stone and work it until you see a consistent scratch pattern across the full width. This is the same process used for chisels. The technique transfers directly, so if you have worked through choosing your first set of bench chisels and done any sharpening, you already know the motion.
Grind and hone the bevel:
Most vintage irons arrive with a 25-degree primary bevel. You can add a 30-degree micro-bevel for faster honing sessions at the bench. If the edge is nicked or rounded over, start on 80-grit sandpaper (or a coarse stone) to re-establish the bevel angle before moving to finer grits.
Work through: coarse, medium, fine, and then strop on leather or cardboard loaded with honing compound. You are done when the edge reflects no light. Hold the iron edge-up under a lamp. Any dull spot shows as a thin white line. Hone until that line is gone.
Set the Cap Iron and Adjust the Frog
The cap iron, also called the chip breaker, curls and breaks shavings before they can lift the grain ahead of the cut. Its leading edge needs to sit tight against the blade face. Any gap lets shavings wedge in and clog the mouth.
Hone the leading edge of the cap iron with a few strokes on a stone so it sits flush against the iron's face when assembled. Set it back about 1/16 inch from the cutting edge for most work on straight grain. Move it closer, to about 1/32 inch, for figured or reversing grain.
For more on managing grain direction while planing, see how to use a hand plane without tearout.
Frog position:
The frog controls the width of the mouth opening. A tighter mouth reduces tearout on finished work. For smoothing, aim for a gap that just passes a piece of paper. For rougher preparation work, a wider mouth clogs less. Adjust the frog screws with the plane disassembled, then reassemble and test.
Reassemble and Test the Plane
Put the plane back together in reverse order: frog, blade and cap iron assembly, lever cap. Tighten the lever cap until the blade feels secure but can still be moved with moderate pressure on the adjuster knob.
Quick setup before your first shaving:
| Step | What to do |
|---|---|
| Set depth | Sight down the sole from the toe. Advance the iron until you see a hairline of steel below the sole. |
| Check lateral | The cutting edge should sit parallel to the sole. Use the lateral lever to correct any tilt. |
| Test cut | Take a shaving on scrap pine or poplar across the grain. It should come off thin and translucent. |
| Fine-tune | Retract if the plane digs in or chatters. Advance slightly if it skips without cutting. |
A properly tuned plane takes a full-width shaving from edge to edge on a flat board. If one side is heavier, adjust the lateral lever. If the plane skims without biting, advance the iron a quarter-turn and test again.
Frequently Asked Questions
How long does it take to tune up an old hand plane?
For a plane in average used condition, plan on two to three hours the first time. Most of that time goes to flattening the sole and sharpening the iron. Once you have done it once, a re-tune after a few years of use takes under an hour.
Do I need to flatten the sole on a new hand plane?
Budget planes often have rough soles from grinding. Run the marker test described above. If high spots show up in front of the mouth or at the heel, a quick lapping session helps. Premium planes from makers like Lie-Nielsen or Veritas typically arrive well-ground and need little work.
Can I use a bench plane without a chip breaker?
Some specialty planes, such as shoulder planes or rebate planes, have no chip breaker by design. On a bench plane used for face planing, the chip breaker helps prevent tearout and keeps the plane running smoothly. Skipping it tends to cause clogging and lifted grain, especially in figured wood.
What grit should I use to sharpen the plane iron?
Start as coarse as the edge requires. If it is chipped or very dull, begin at 120 grit or a coarse water stone around 250 grit. Work up through medium (600-800), fine (1200-2000), and then a finishing stone (4000-8000). Strop afterward. The exact grits matter less than working through them in sequence without jumping ahead.
Is it worth restoring a rusty vintage plane?
Often yes. A vintage Stanley or Record plane from a flea market is often made from better castings than a budget import. Surface rust is cosmetic. Pitting on the sole matters only if it is deep in the critical zones: toe, area in front of the mouth, and heel. Light pitting elsewhere has no effect on performance once the plane is tuned and the sole is flat.