Power Tools
Table Saw Safety and Setup for Beginners
Learn table saw safety, setup, and technique for beginners. Covers blade height, fence alignment, push sticks, and the cuts to avoid early on.
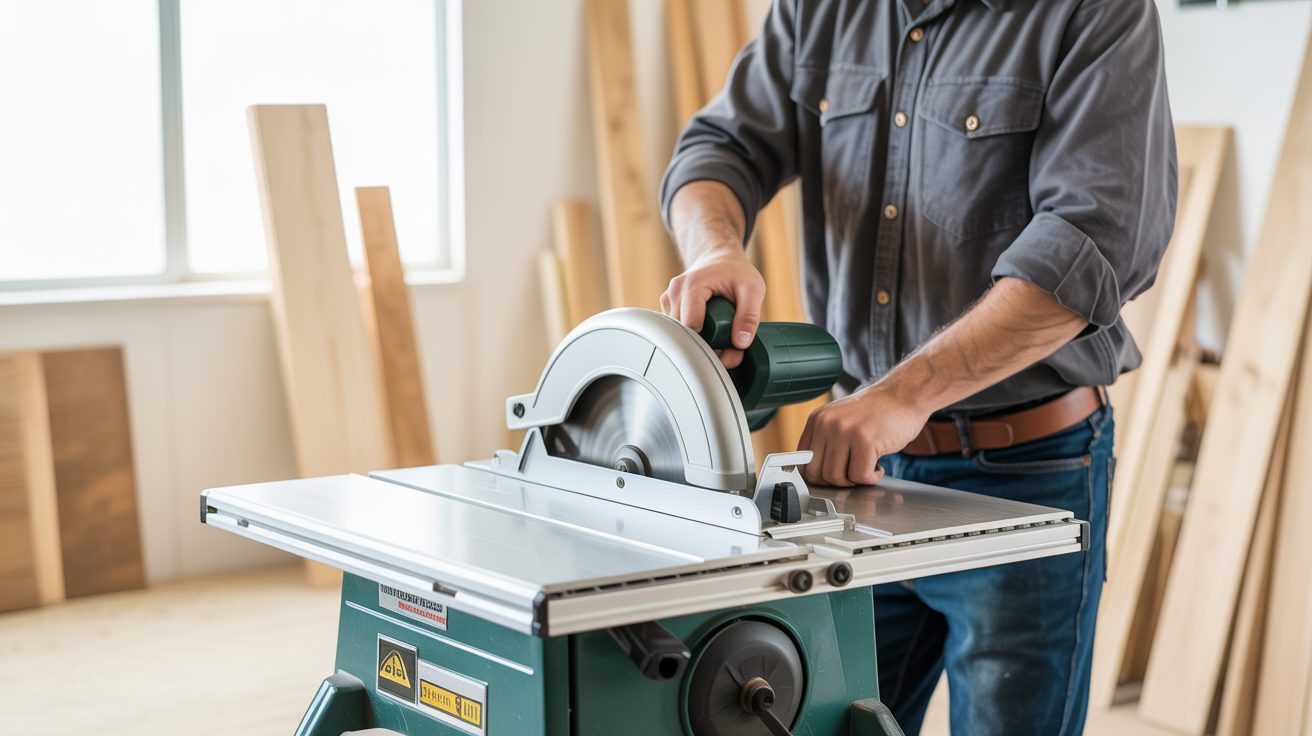
The table saw is the most useful stationary tool in a woodshop, and also the one that punishes careless habits the fastest. Get the setup right, learn a handful of firm rules, and it becomes precise and predictable.
Understanding Your Table Saw Before You Turn It On
Most beginners plug in a table saw and start cutting without reading the manual. Before you make a single cut, spend fifteen minutes learning the parts.
The main components:
- Blade: A 10-inch combination blade handles rips and crosscuts for most beginners. The teeth point toward you, meaning the blade rotates up and toward the operator.
- Arbor and arbor nut: The blade mounts on the arbor. The nut tightens opposite to the blade's spin direction so it stays secure during cuts.
- Rip fence: The long guide that runs parallel to the blade. Use it for ripping boards to width.
- Miter gauge: The sliding guide that fits in the table slots. Use it for crosscuts at 90 degrees or angled cuts.
- Blade guard: The clear plastic cover that sits over the blade. Leave it on for every cut where it can physically stay on. Some setups require removing it (dado cuts, some jig work), but that is not beginner territory.
- Riving knife or splitter: The metal fin directly behind the blade. It keeps the kerf open so the wood does not pinch the blade and kick back.
- Anti-kickback pawls: Small toothed fingers that grip the wood and prevent it from launching back at you. They come as part of many guard assemblies.
Kickback is the single biggest hazard at the table saw. It happens when the blade catches the wood and throws it back toward the operator at speed. Proper setup, a sharp blade, and good technique prevent almost all kickback incidents.
Table Saw Setup: Getting Aligned Before You Cut
A saw that is out of alignment cuts poorly and creates the conditions for kickback. Run through this checklist whenever you set up a saw for the first time, or if it has been moved.
Check the Blade-to-Miter-Slot Alignment
Use a combination square or a dedicated alignment tool. The blade should be parallel to the miter slot, not angled toward or away from it. Most saws have trunnion bolts underneath the table that let you dial this in. Even a small amount of toe-in (the back of the blade angled slightly toward the fence side of the slot) will cause burning on rips and increase kickback risk.
Set Blade Height Correctly
For most through-cuts, raise the blade so the gullets (the curved spaces between teeth) clear the top of the workpiece. That puts roughly 1/4 inch of blade showing above the wood. Some woodworkers prefer to raise the blade higher, reasoning that the blade hits the wood at a lower angle and is less likely to grab. Either approach works; what does not work is running the blade barely exposed, which forces the teeth to chop rather than slice.
Align the Rip Fence
The fence should run parallel to the blade, or very slightly toed out (the far end of the fence angled a hair away from the blade). A fence that is toed in even slightly will pinch the cut and cause burning or kickback. Use a reliable rule or fence-alignment jig to check this. Lock the fence, then try to rock it. If it moves, the locking mechanism needs attention before you cut.
Inspect the Blade
A dull or dirty blade tears grain, requires more feed pressure, and generates heat that can warp cuts. Run your thumbnail across the carbide teeth. They should feel crisp. If they snag or crumble on your nail, the blade needs sharpening or replacement. Pitch buildup (dark resin residue) slows a blade down; a dedicated blade cleaner removes it in minutes.
Table Saw Safety: The Rules That Do Not Have Exceptions
Table saw safety is not a list of suggestions. The following rules apply on every cut, every time.
Stand to the side of the blade line. Never stand directly behind the blade. If a piece kicks back, it travels on a line with the blade. Standing to the left of that line (for a right-tilting saw) keeps you out of the path.
Use push sticks and push blocks. Any time your hands would pass within six inches of the blade, use a push stick. The standard push stick is a notched piece of wood or plastic that hooks behind the trailing end of the board. For narrow rips, a push block with a rubber sole gives you downward pressure and forward control at the same time. Learning to use a router will also sharpen your habit of keeping hands clear of spinning cutters, which transfers directly to table saw work.
Do not use the fence and miter gauge together. Rip cuts use the fence. Crosscuts use the miter gauge. Using both at the same time traps the cut-off piece between the blade and the fence, creating a pinch point that almost guarantees kickback.
Keep the blade guard and riving knife installed. Remove the guard only when a specific cut makes it impossible to use it, and reinstall it immediately after.
Let the blade come to a complete stop before reaching over it. A coasting blade is still a cutting blade.
Never reach behind the blade to grab a cut piece while it is still running. Walk around the saw or wait until the blade stops.
Dress for the shop. No loose sleeves, no dangling drawstrings, no gloves near spinning blades. Safety glasses and hearing protection on every cut.
Common Cuts and How to Make Them
Rip Cuts
A rip cut runs parallel to the wood grain, reducing a board's width. Set the fence to your desired width, press the board flat to the table and against the fence, and feed it steadily. Do not stop mid-cut. If you feel resistance, the wood may be pinching. Back the board out, check the fence alignment, and try again. For narrow rips (under three inches), use a push stick from the start of the cut, not just at the end.
Crosscuts
A crosscut runs across the grain. Use the miter gauge, not the fence. Hook the board against the miter gauge face and push them through together. For longer boards, a crosscut sled (a shop-made jig that rides in both miter slots) gives far better control than the stock miter gauge.
What to Avoid Early On
Freehand cuts (no fence, no miter gauge) have no place at a table saw. Neither do cuts on warped or twisted lumber, which can rock mid-cut and bind the blade. If a board has a bad cup or twist, flatten it first, or rough-cut it with a circular saw where the workpiece stays flat on a surface.
Essential Table Saw Accessories for Beginners
| Accessory | Why It Helps |
|---|---|
| Push stick (notched) | Controls narrow rip cuts when your hands approach the blade |
| Push block (rubber sole) | Downward pressure plus forward feed on thin stock |
| Featherboard | Presses the board against the fence, keeping the cut consistent |
| Crosscut sled | More accurate and safer crosscuts than the stock miter gauge |
| Combination blade (10") | Handles both rips and crosscuts without swapping blades |
| Eye and ear protection | Non-negotiable on every cut |
A featherboard is worth making early. It clamps to the table and uses flexible fingers to hold the board tight against the fence throughout the cut, freeing your hands from that task. Plans for a simple featherboard take about ten minutes to cut from scrap.
Once your table saw work is dialed in and you are ready to smooth parts after assembly, getting started with a random orbital sander is a natural next step for finishing surfaces cleanly.
Frequently Asked Questions
How high should I set the blade above the wood? Set the blade so the gullets clear the top of the workpiece by about 1/4 inch. This gives the blade enough exposure to slice rather than chop, and keeps most of the blade below the table where it can do no harm. There is no reason to run more blade than the cut requires.
Do I need a table saw or will a circular saw do the same job? A circular saw handles many of the same cuts and is a practical starting point when bench space or budget is limited. It requires more setup to achieve the same accuracy, especially on rip cuts. When you are ready to work with sheet goods or rip a lot of lumber, the table saw becomes the faster and more consistent tool.
What is kickback and how do I stop it? Kickback is the blade catching the wood and throwing it back toward the operator. It happens when the kerf closes on the blade (a riving knife prevents this), when the fence is toed in, or when the operator feeds too fast or stops mid-cut. Standing to the side of the blade line, keeping the riving knife installed, and using a properly aligned fence eliminates most kickback risk.
Can I cut plywood on a table saw? Yes. A combination or finish blade reduces tear-out on the face veneer. Support the sheet with an outfeed table or a helper, because an unsupported four-by-eight panel can bind the blade mid-cut. Scoring the cut line with a utility knife first also reduces tear-out on delicate veneers.
When should I replace my blade? When cuts start burning, when the blade requires noticeably more feed pressure, or when you see chipped carbide teeth. A sharpened or replaced blade costs less than a kickback incident. Keep blades clean between uses and they will last considerably longer.